DIY Sewn Christmas Gifts: A Guide to Creating Thoughtful and Personalized Presents
DIY Sewn Christmas Gifts: A Guide to Creating Thoughtful and Personalized Presents
Introduction
In this auspicious occasion, we are delighted to delve into the intriguing topic related to DIY Sewn Christmas Gifts: A Guide to Creating Thoughtful and Personalized Presents. Let’s weave interesting information and offer fresh perspectives to the readers.
Table of Content
DIY Sewn Christmas Gifts: A Guide to Creating Thoughtful and Personalized Presents
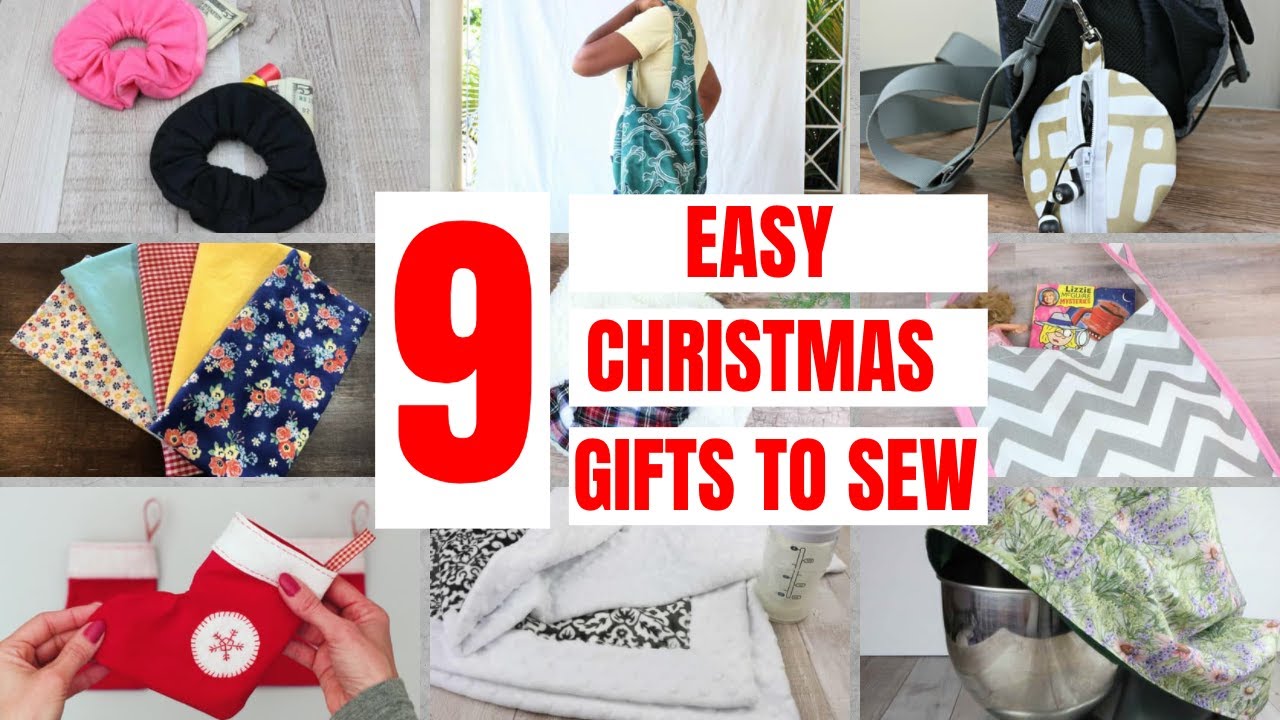
As the holiday season approaches, many of us scramble to find the perfect gifts for our loved ones. This year, why not try something different and create your own DIY sewn Christmas gifts? Not only will this save you money, but it will also add a personal touch to your presents that will make them truly special.
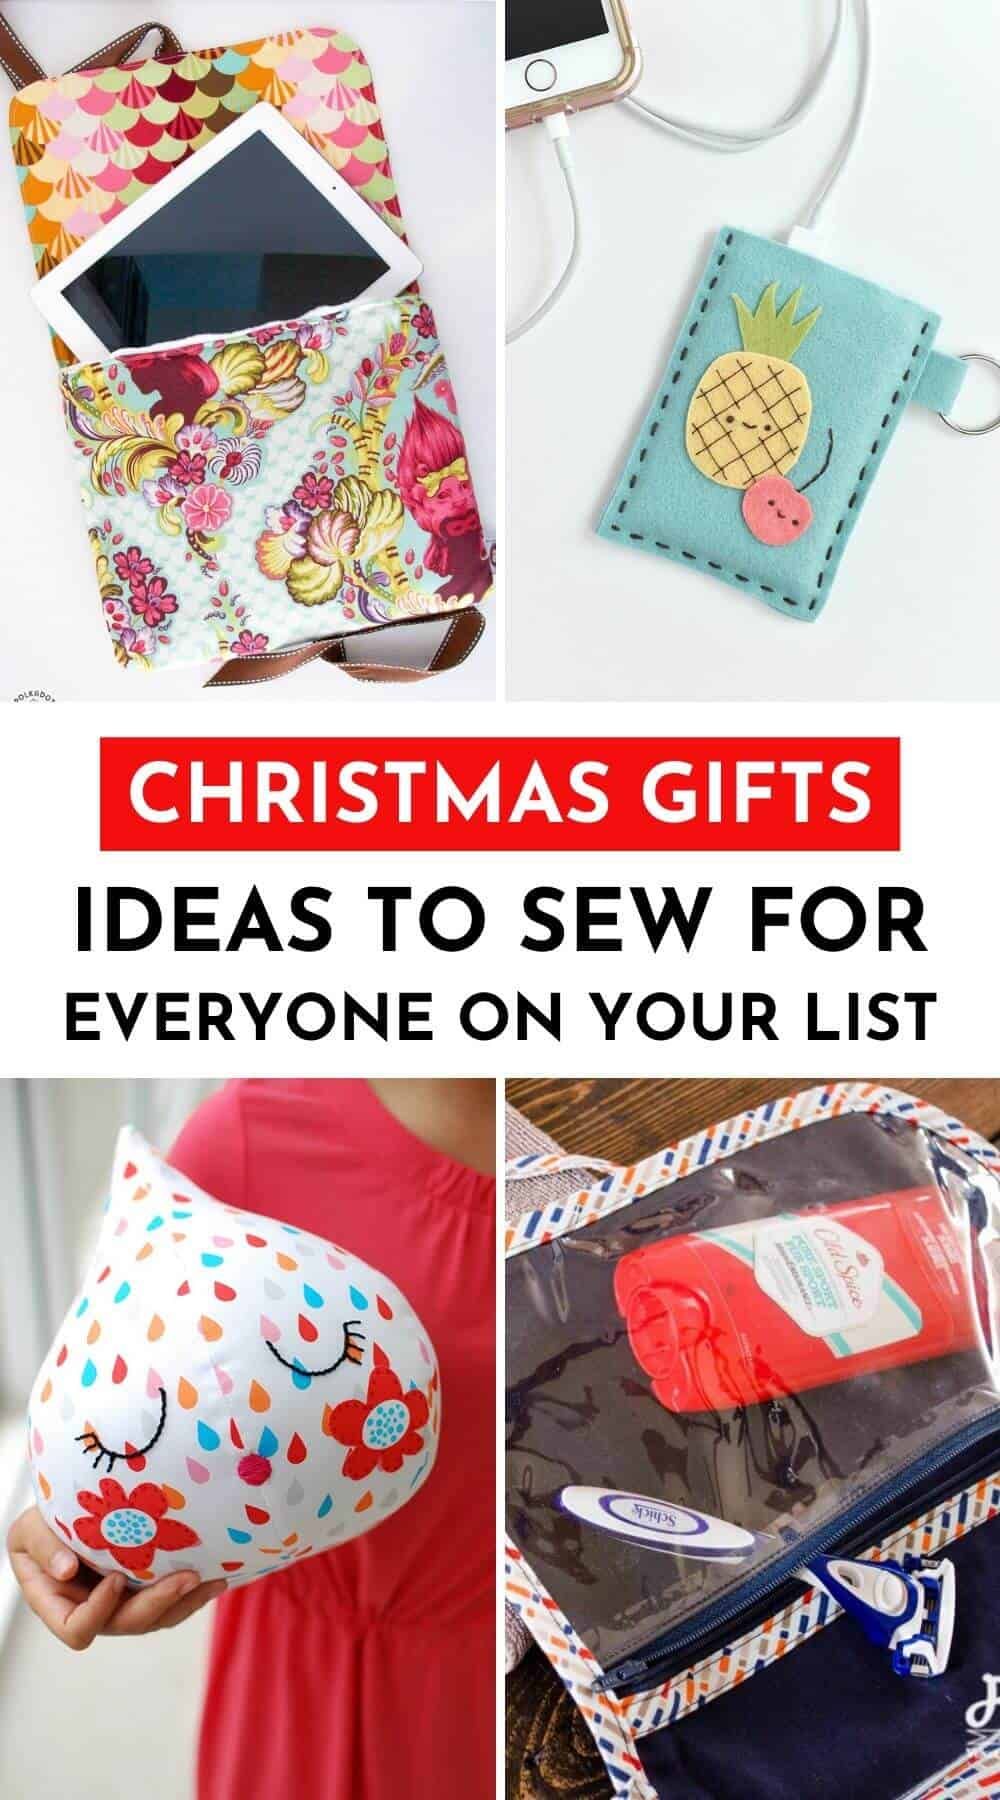
In this article, we’ll show you how to create a variety of DIY sewn Christmas gifts that are perfect for friends, family, and loved ones. From simple pouches and tote bags to more complex projects like quilts and stuffed animals, we’ll cover it all.
Materials and Tools Needed
Before we get started, let’s take a look at the materials and tools you’ll need to create your DIY sewn Christmas gifts:
- Sewing machine
- Fabric of your choice (cotton, fleece, or velvet work well)
- Thread
- Needles (sharp and blunt)
- Pins
- Scissors
- Measuring tape
- Ruler
- Sewing notions (zippers, buttons, etc.)
- Interfacing (optional)
Project 1: Simple Drawstring Pouch
Our first project is a simple drawstring pouch that’s perfect for small gifts or treats. This project is great for beginners and can be completed in under an hour.
Materials needed:
- 1 piece of fabric (10" x 10")
- 1 piece of drawstring (1 yard)
- 1 piece of interfacing (optional)
- Scissors
- Pins
- Needle and thread
Instructions:
- Cut out two identical squares of fabric, each measuring 10" x 10".
- Place the two squares right sides together and sew around the edges, leaving a small opening at the top.
- Turn the pouch right side out and press the seams with a hot iron.
- If using interfacing, place it on the wrong side of the fabric and sew in place.
- Fold the top edge of the pouch over twice to create a channel for the drawstring.
- Thread the drawstring through the channel and tie a knot to secure.
- Fill the pouch with small gifts or treats and tie the top with a bow.
Project 2: Reusable Tote Bag
Our second project is a reusable tote bag that’s perfect for grocery shopping, carrying books, or as a gift bag. This project is a bit more complex, but the end result is well worth the effort.
Materials needed:
- 1 piece of fabric (20" x 20")
- 2 pieces of webbing (1 yard each)
- 1 piece of interfacing (optional)
- Scissors
- Pins
- Needle and thread
- Sewing machine
Instructions:
- Cut out two identical squares of fabric, each measuring 20" x 20".
- Cut two pieces of webbing, each measuring 20" long.
- Place the two squares right sides together and sew around the edges, leaving a small opening at the top.
- Turn the bag right side out and press the seams with a hot iron.
- If using interfacing, place it on the wrong side of the fabric and sew in place.
- Fold the top edge of the bag over twice to create a channel for the webbing.
- Thread the webbing through the channel and sew in place.
- Repeat the process with the second piece of webbing.
- Fill the bag with gifts or treats and tie the top with a bow.
Project 3: Quilted Coasters
Our third project is a set of quilted coasters that are perfect for protecting surfaces from water marks and spills. This project is a great way to practice your quilting skills and can be completed in under an hour.
Materials needed:
- 4 pieces of fabric (5" x 5" each)
- 1 piece of batting (5" x 5")
- 1 piece of interfacing (optional)
- Thread
- Needles (sharp and blunt)
- Pins
- Scissors
Instructions:
- Cut out four identical squares of fabric, each measuring 5" x 5".
- Place the four squares right sides together and sew around the edges, leaving a small opening at the top.
- Turn the coaster right side out and press the seams with a hot iron.
- If using interfacing, place it on the wrong side of the fabric and sew in place.
- Place the coaster on a piece of batting and sew in place.
- Repeat the process with the remaining three coasters.
- Fill a small gift bag with the coasters and tie the top with a bow.
Project 4: Stuffed Animal
Our fourth project is a stuffed animal that’s perfect for kids or as a decorative item. This project is a bit more complex, but the end result is well worth the effort.
Materials needed:
- 2 pieces of fabric (10" x 10" each)
- 1 piece of interfacing (optional)
- 1 piece of stuffing (polyester fiberfill)
- Scissors
- Pins
- Needle and thread
- Sewing machine
Instructions:
- Cut out two identical shapes from the fabric, using a template or pattern.
- Place the two shapes right sides together and sew around the edges, leaving a small opening at the top.
- Turn the animal right side out and press the seams with a hot iron.
- If using interfacing, place it on the wrong side of the fabric and sew in place.
- Fill the animal with stuffing and sew the opening shut.
- Use a needle and thread to add eyes, nose, and mouth to the animal.
- Repeat the process with different fabrics and shapes to create a set of stuffed animals.
Project 5: Embroidered Tea Towel
Our fifth project is an embroidered tea towel that’s perfect for the kitchen or as a decorative item. This project is a great way to practice your embroidery skills and can be completed in under an hour.
Materials needed:
- 1 piece of fabric (20" x 20")
- 1 piece of embroidery floss
- 1 needle (sharp)
- Scissors
- Pins
Instructions:
- Cut out a piece of fabric, measuring 20" x 20".
- Draw a design or pattern on the fabric using a marker or pencil.
- Thread the needle with embroidery floss and stitch the design onto the fabric.
- Repeat the process with different colors and patterns to create a unique design.
- Hem the edges of the towel with a sewing machine or by hand.
- Fill a small gift bag with the towel and tie the top with a bow.
Tips and Variations
- Use different fabrics and colors to create unique and personalized gifts.
- Add a personal touch by including a handwritten note or card.
- Use different shapes and templates to create a variety of gifts, such as a heart-shaped pillow or a star-shaped ornament.
- Experiment with different embroidery stitches and patterns to create a unique design.
- Add a gift tag or label to the gift to make it extra special.
Conclusion
Creating DIY sewn Christmas gifts is a fun and easy way to show your loved ones that you care. With these five projects, you’ll be able to create a variety of gifts that are perfect for friends, family, and coworkers. Whether you’re a beginner or an experienced sewer, these projects are sure to bring a smile to the face of the recipient. So why not give it a try this holiday season? Grab your sewing machine and get creative!
Bonus Project: DIY Fabric Gift Tags
Want to add a personal touch to your DIY sewn Christmas gifts? Why not create your own fabric gift tags? Here’s a simple tutorial to get you started:
Materials needed:
- 1 piece of fabric (5" x 5")
- 1 piece of interfacing (optional)
- Thread
- Needle (sharp)
- Scissors
- Pins
Instructions:
- Cut out a piece of fabric, measuring 5" x 5".
- If using interfacing, place it on the wrong side of the fabric and sew in place.
- Fold the fabric in half and sew around the edges, leaving a small opening at the top.
- Turn the tag right side out and press the seams with a hot iron.
- Use a needle and thread to add a loop or tie to the top of the tag.
- Fill a small gift bag with the tag and tie the top with a bow.
Gift Ideas
Here are some gift ideas to get you started:
- Fill a small pouch with gourmet treats, such as nuts or chocolates.
- Create a set of coasters and fill a small gift bag with them.
- Fill a reusable tote bag with groceries or other goodies.
- Create a stuffed animal and fill a small gift bag with it.
- Embroider a tea towel with a special message or design.
Conclusion
Creating DIY sewn Christmas gifts is a fun and easy way to show your loved ones that you care. With these five projects and bonus project, you’ll be able to create a variety of gifts that are perfect for friends, family, and coworkers. Whether you’re a beginner or an experienced sewer, these projects are sure to bring a smile to the face of the recipient. So why not give it a try this holiday season? Grab your sewing machine and get creative!


Closure
Thus, we hope this article has provided valuable insights into DIY Sewn Christmas Gifts: A Guide to Creating Thoughtful and Personalized Presents. We thank you for taking the time to read this article. See you in our next article!
Leave a Reply