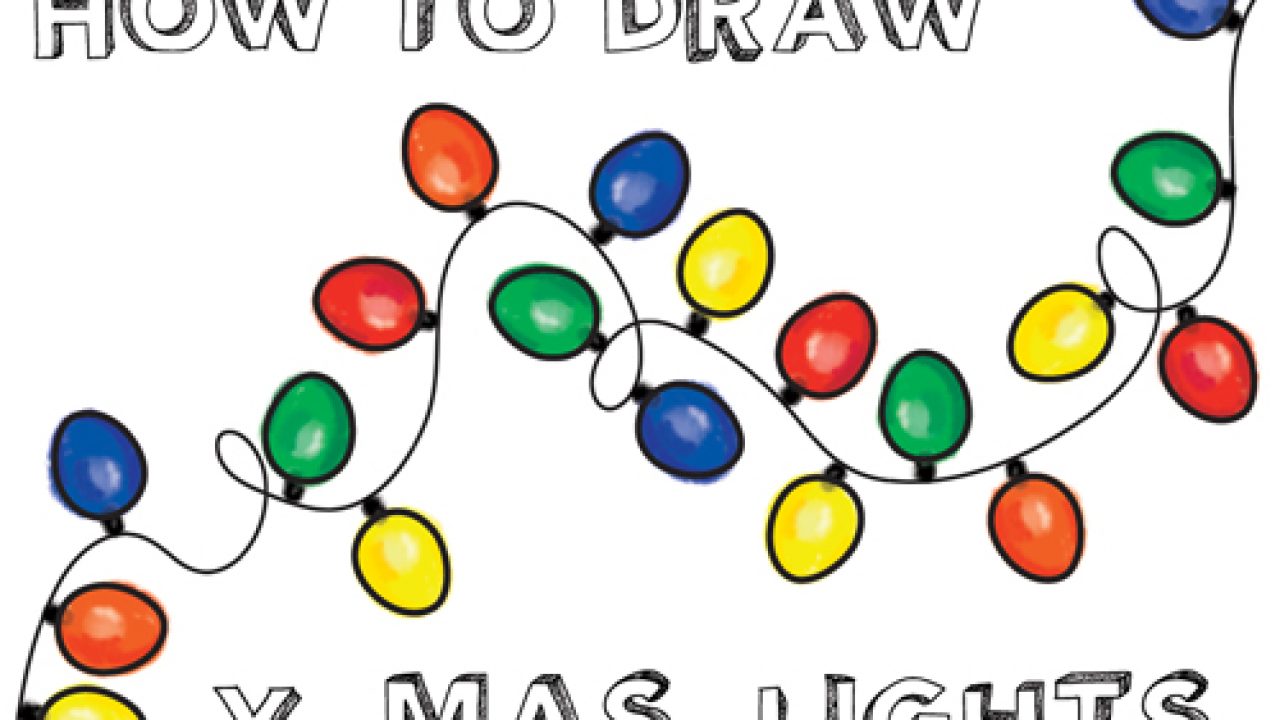
A Beginner’s Guide to Coloring Christmas Lights: Creating a Magical Outdoor Display
A Beginner’s Guide to Coloring Christmas Lights: Creating a Magical Outdoor Display
Introduction
In this auspicious occasion, we are delighted to delve into the intriguing topic related to A Beginner’s Guide to Coloring Christmas Lights: Creating a Magical Outdoor Display. Let’s weave interesting information and offer fresh perspectives to the readers.
Table of Content
- 1 A Beginner’s Guide to Coloring Christmas Lights: Creating a Magical Outdoor Display
- 2 Introduction
- 2.1 Step 1: Prepare Your LED Lights
- 2.2 Step 2: Choose Your Color Method
- 2.3 Step 3: Apply the Colorant (Option A)
- 2.4 Step 4: Apply the Colorant (Option B)
- 2.5 Step 5: Secure Conductive Materials (Optional)
- 2.6 Step 6: Connect and Test
- 2.7 Step 7: Final Check and Outdoor Installation
- 2.8 Tip A – Ombre Colors: Gradual Color Change
- 2.9 Tip B – Glowing Wreath Colors Mix
- 3 Best Alternative
- 4 Closure
A Beginner’s Guide to Coloring Christmas Lights: Creating a Magical Outdoor Display

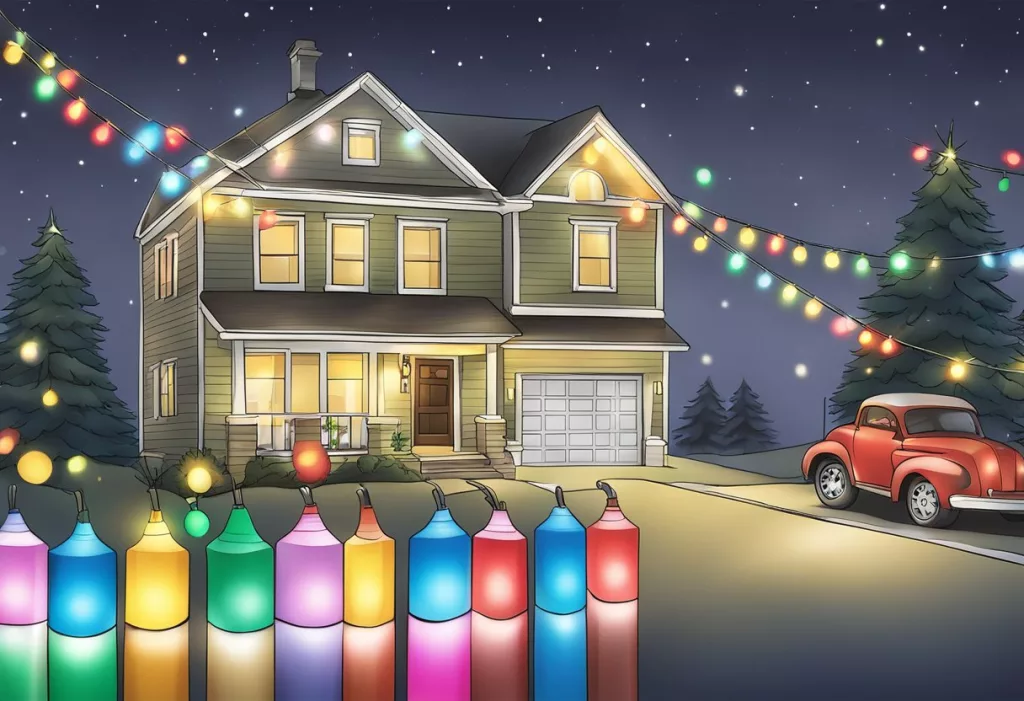
As the holiday season approaches, millions of homeowners around the world start thinking about decorating their homes with festive lights, garlands, and wreaths. Among these popular accessories, Christmas lights are the most iconic and coveted, transforming homes into a dazzling spectacle that brightens up the winter landscape. However, have you ever considered going beyond the conventional red and green colors and experimenting with a more personalized look for your outdoor display? That’s where coloring Christmas lights comes in – a simple yet creative DIY project that can give your Christmas display a unique twist.
The Art of Coloring Christmas Lights: A Brief History
Coloring Christmas lights has been around for decades, and its popularity surged with the advent of modern LED lighting technologies. While traditional incandescent lights were a staple in many households, the introduction of LED lights provided a more energy-efficient and versatile alternative. With the increasing demand for customization, manufacturers started offering LED lights in a variety of colors and effects, making it easier for creative homeowners to express their individuality.
Materials Needed for Coloring Christmas Lights
To get started with coloring Christmas lights, you’ll need a few basic materials:
- LED Christmas Lights: Choose your preferred type, such as string lights, net lights, or icicle lights, in the standard red and white colors.
- Colorant Materials:
- LED Christmas Light Colorant Tablets: These tablets are specifically designed to change the color of LED lights and are available in various shades, including pink, blue, yellow, and purple.
- Food Coloring: This can be used as an alternative to colorant tablets or to create unique, ombre-like effects.
- Flexible Conductive Materials: PVC pipes, tubing, or wire with copper or silver plating, which can be used to wrap around the LED lights for resistance-free connections.
- Soldering Iron and Solder: For securing conductive materials and making connections.
- Battery-Electric Drum Or Wire Strippers: For protecting your wiring from fraying or cutting bare, wire bits.
- Tape or Markers: For keeping track of individual strands or marking specific parts of a string.
Preparation and Safety Precautions
Before starting your coloring project, ensure you follow some essential safety guidelines:
- Unplug the lights: Always disconnect the lights from the power supply before commencing any works on them.
- Wear protective gear: Use gloves, safety glasses, and a dust mask to prevent electrical shock, injury, or respiratory issues.
- Electrostatic protection: Static electricity can damage delicate components. Use an anti-static wrist strap or touch a grounded metal object.
Step-by-Step Instructions for Coloring Christmas Lights
Now that we’ve covered the basics, let’s dive into the step-by-step process for coloring Christmas lights:
Step 1: Prepare Your LED Lights
Disconnect the LED lights from the power supply and gently untangle them. For string lights, you can separate individual segments; for net lights, disassemble the net sections.
Step 2: Choose Your Color Method
Decide which colorant material you want to use: tablets, food coloring, or conductive materials. Make sure to follow manufacturer instructions for specific colorant use.
Step 3: Apply the Colorant (Option A)
If using tablets, crush or grind the tablets into a fine powder before mixing it with a small amount of water or silicone-based sealant. Apply the mixture evenly onto the LED light’s packaging or protective covering using a brush, and wait for it to harden. This can be repeated for a richer or more vibrant color shade.
Step 4: Apply the Colorant (Option B)
If using food coloring or similar alternatives, apply a minute amount onto the affected area, making sure not to get any excess dye on adjacent parts or edges.
Step 5: Secure Conductive Materials (Optional)
Wrap flexible conductive material (PVC pipe, for example) around LED lights in case the existing wire connections aren’t secure enough for the colorant to pass through safely.
Step 6: Connect and Test
Make sure there are no tangles or cuts in the wiring. Secure conductive materials at key touch-points then confirm they operate as intended. Install fresh wiring if components damage occurs
Step 7: Final Check and Outdoor Installation
Double-check for any wiring malfunctions or unsightly lines before putting the lights up. To replace battery lights or old control products around string lights, operate them as per the new operational method intended by the product’s user manual. Some items are not required as part of original design.
Experimenting with Unconventional Methods: Color-Changing Effects and Tips
Want to create a more dynamic display using different color strategies? Here are ideas you can explore:
Tip A – Ombre Colors: Gradual Color Change
Create an ombre effect by applying multiple shades of the same color variant from lightest to darkest along a string. Blend one color so that the rest (closest string lights will be replaced multiple times to show darker on and lighter off) using silicone paint in varying colors for an excellent contrasting effect.
Tip B – Glowing Wreath Colors Mix
Varying and reoccuring hue transitions – Instead of fixed light colors like green and red (customizable over the course of the evening by manually managing LED wiring and wires). Vary or select from an assortment of vibrant or monochrome colors, these special combinations (see instructions step 1-3) are easy DIY installations & do only a delicate amount of light-related interference compared to buying specialty display accessories.
Best Alternative
Explore, evaluate and choose a set which fits you most – best practices & in style.
Colouring Christmas lights is an easy yet involved DIY project that can give your outdoor holiday display a completely unique look and atmosphere. With safety precautions, suitable materials and a few simple steps, you can color hundreds of different versions of your own unique style decorations.


Closure
Thus, we hope this article has provided valuable insights into A Beginner’s Guide to Coloring Christmas Lights: Creating a Magical Outdoor Display. We hope you find this article informative and beneficial. See you in our next article!
Leave a Reply