A Seasonal Approach to Christmas Invites: Creating Stunning Templates in Microsoft Word
A Seasonal Approach to Christmas Invites: Creating Stunning Templates in Microsoft Word
Introduction
With great pleasure, we will explore the intriguing topic related to A Seasonal Approach to Christmas Invites: Creating Stunning Templates in Microsoft Word. Let’s weave interesting information and offer fresh perspectives to the readers.
Table of Content
A Seasonal Approach to Christmas Invites: Creating Stunning Templates in Microsoft Word

As the holiday season fast approaches, it’s time to start thinking about how to invite friends and family to join in the festive fun. One of the most enjoyable and rewarding holiday traditions is hosting a Christmas party, and a beautifully designed invitation sets the tone for a magical and memorable experience. In this article, we’ll guide you through the process of creating a breathtaking Christmas invitation template in Microsoft Word.
Why Choose a Custom Invitation?
A custom Christmas invitation created in Microsoft Word offers countless benefits over generic store-bought cards. Firstly, it allows you to personalize the design to fit your party’s unique theme, style, and preferences. This not only reflects the festive atmosphere but also communicates your enthusiasm and excitement about the upcoming celebration. A thoughtful invitation also promotes personal connection and allows guests to feel more invested in the event.
Designing the Perfect Invitation in Microsoft Word
To create a visually stunning Christmas invitation in Microsoft Word, follow these simple steps:
-
Open Microsoft Word: Log in to your Microsoft account, open a new document, and choose a suitable template from the Designer template gallery.
-
Select a Holiday Template: Browse through the seasonal templates to find a suitable Christmas design. Alternatively, begin with a blank canvas to create a bespoke invitation.
-
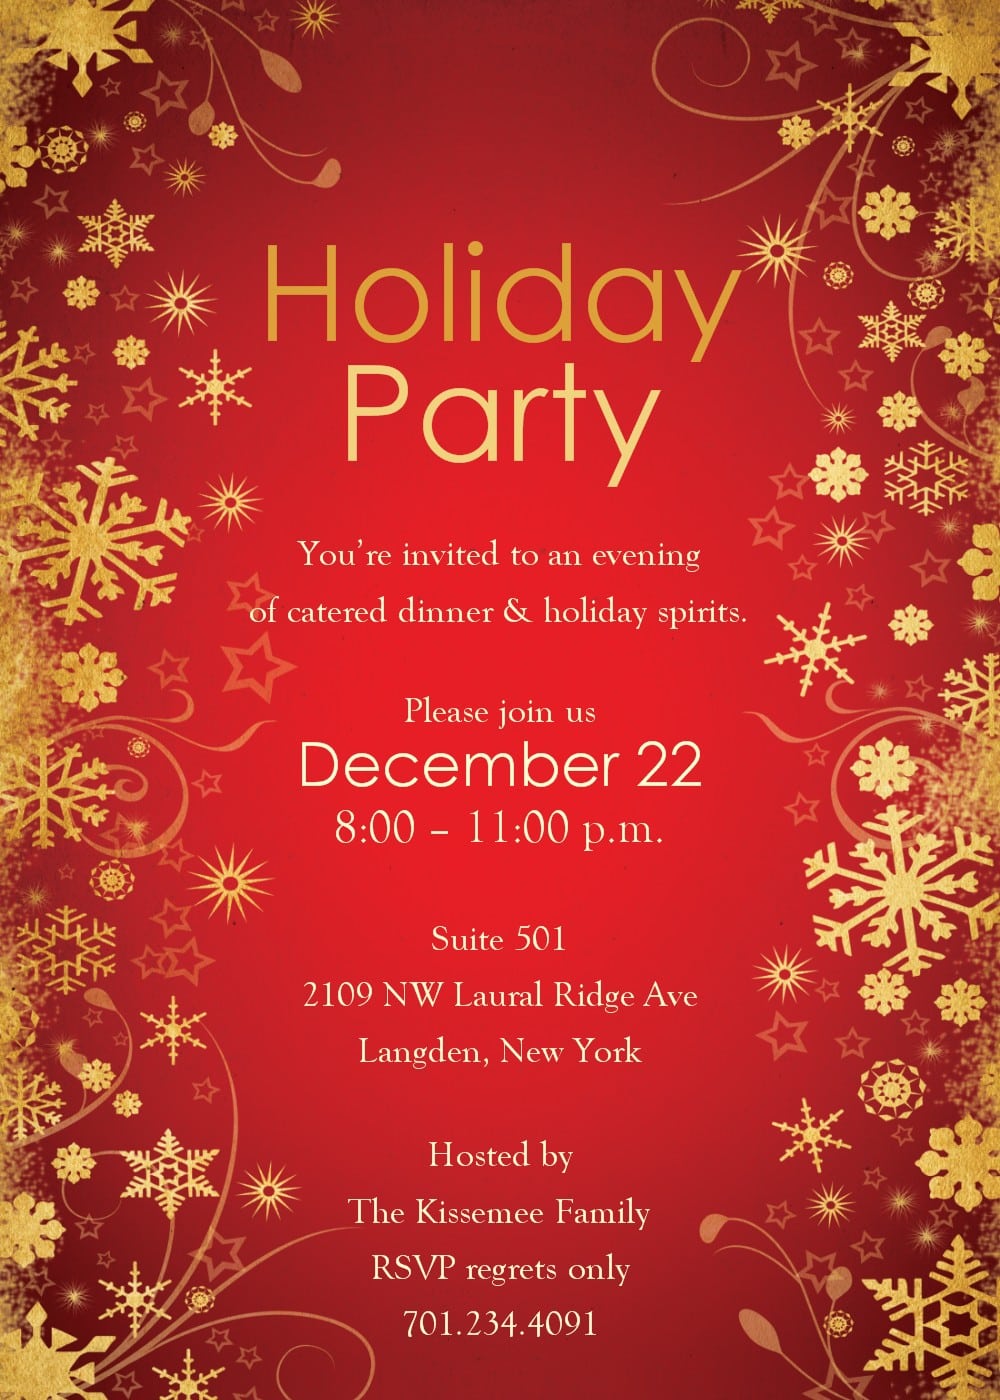
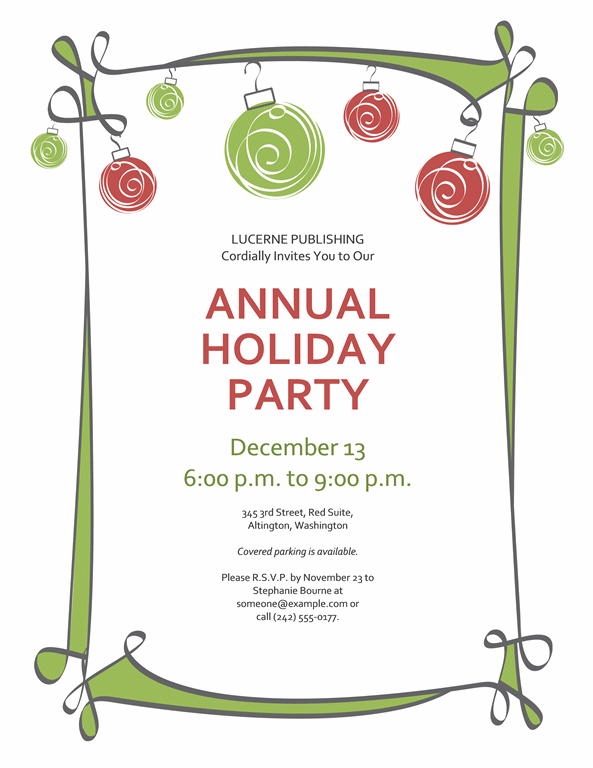
Add Seasonal Elements: Incorporate festive elements such as snowflakes, reindeer, holly, and garlands to evoke the feeling of a winter wonderland.
-
Background Colors and Patterns: Select a suitable background color that complements the Christmas theme. Consider adding texture or fill patterns, such as holly leaves, to enhance visual appeal.
-
Typography: Microsoft Word offers multiple typography options and styling choices. Experiment with bold and playful fonts to create an engaging design.
-
Christmas Images and Graphics: Browse stock images of snowmen, icicles, candle-lit Christmas trees, and festive text to enhance your invitation.
-
Shape and Frames: To give your invitation an edge, experiment with borders, flourishes, and patterns. A beautiful corner or frame adds a distinctive touch to the whole composition.
-
Fill Text Information: Next, fill out the invitation’s essential details, including the occasion, date, venue, time, dress code, and RSVP details.
Tips for Adding Special Effects
While designing in Microsoft Word, don’t be afraid to push the boundaries and unleash your creativity with special effects. Here are some additional techniques to get you started:
-
Gradient Fills: Add a gradient fill to create shadows or lights effects for an unparalleled depth.
-
Lighten or Darken Colors: Adjust hues by lightening or darkening them for a range of coloring options.
-
Patterns and Icons: In Microsoft Word, discover hundreds of icons and patterns under Picture Tools, giving you an infinite variety of visual backgrounds and add-ons.
-
Layering: Layer multiple elements, and strategically reorder items to show off key art works and themes.
-
Effects: Take advantage of pre-made patterns from the Home tab’s Text Effect button to give your title or key text the right personality and atmosphere.
Example Invitation Templates
Looking for inspiration to get you started? Here are some example templates to demonstrate how you can create an eye-catching Christmas invitation in Microsoft Word:
-
Winter Wonderland Scenery: Create a wintry backdrop with falling snow, twinkling stars, and snow-covered evergreen trees.
-
Vintage Christmas Charm: Combine distressed textures, aged ornament finishes, and warm-toned colors to give your invitation an antique feel.
-
Colorful Snow Globe: Develop a snow globe technique, complete with glitter effect elements and water-type backgrounds, to create a breathtaking atmospheric design.
Steps to Save and Finalize the Invitation
After completing your design, follow these crucial steps to finalize and distribute your beautiful Christmas invitation:
-
Check Layout and Format: Make sure your invitation’s layout and format accurately convey all the necessary information.
-
Adjust Color Balance and Contrast: Check colors for unwanted brightness or unsuitable contrasts, which can be easily amended in Microsoft Word.
-
Add a Last-Minute Touch: Surprise your guests with a small memento on the inside of the invitation.
-
Test Your Final Document: Verify the design is stable and undamaged by making minor adjustments and reducing various layouts or designs simultaneously.
Customization Ideas
If you prefer a more personalized reflection of your creativity, add some personal touches to your Christmas invitation:
-
Family Photo: Include a picture of your family with an event-specific theme or backdrop.
-
Address and Position: Mention the party’s dress-code requirements.
-
Map and Transportation: Provide information on how guests can reach your location and any parking recommendations.
Celebrating the Spirit of the Season
Creating the perfect Christmas invitation template in Microsoft Word allows you to inject magic and excitement into the holiday festivities. Utilizing its unique features and styling options, you can make a beautiful template that reflects your unique holiday style. Get ready to roll up your sleeves, experiment with new ideas, and send the perfect winter wonderland invitation that makes this festive season unforgettable.
In conclusion, through these practical steps, intuitive techniques, and inspiring ideas, you’ve become skilled in the art of designing a captivating and unique Microsoft Word Christmas invitation that captures the warmth and adventure of the holiday season.
Step by Step Guide to Make a Christmas Invitation Template in Microsoft Word
Step 1: To start making an invitation template
- Open a new document in Microsoft Word and browse for the Christmas template.
Step 2: Add festive elements and colors
- Load festive images and insert text specific to your party and winter season.
Step 3: Background color options and effects
- Add texture or fill patterns in suitable colors and contrast shades.
Step 4: Add typographical details
- Set up fonts and colors, contrast, and different effect styles.
Step 5: Map and finish your invitation
- Add maps or transport details, adjust colors to account for visibility for reading and visibility and enjoy.
Once you have mastered this process, create an unforgettable party invitation in Microsoft Word that’s tailor-made to your precise ideas. We wish you and your family joyful and festive holiday seasons to come.

:max_bytes(150000):strip_icc()/chrstimas-party-invite-595d1b9a3df78c4eb671d250.jpg)


Closure
Thus, we hope this article has provided valuable insights into A Seasonal Approach to Christmas Invites: Creating Stunning Templates in Microsoft Word. We appreciate your attention to our article. See you in our next article!
Leave a Reply