"Deck the Halls: A Guide to Creating Custom Christmas Balls for a Unique Holiday Season"
"Deck the Halls: A Guide to Creating Custom Christmas Balls for a Unique Holiday Season"
Introduction
In this auspicious occasion, we are delighted to delve into the intriguing topic related to "Deck the Halls: A Guide to Creating Custom Christmas Balls for a Unique Holiday Season". Let’s weave interesting information and offer fresh perspectives to the readers.
Table of Content
"Deck the Halls: A Guide to Creating Custom Christmas Balls for a Unique Holiday Season"

The holiday season is a time for joy, giving, and creating memories with loved ones. One of the most iconic symbols of Christmas is the Christmas tree, adorned with sparkling ornaments and lights. Among the most popular and beloved ornaments are Christmas balls, which add a touch of elegance and sophistication to any tree. While store-bought Christmas balls are lovely, creating custom Christmas balls can add a personal touch to your holiday decor. In this article, we will explore the art of creating custom Christmas balls and provide you with the inspiration and guidance to create your own unique and beautiful ornaments.
A Brief History of Christmas Balls
Christmas balls, also known as baubles or glass balls, have a rich history dating back to 16th-century Germany. The first glassblowers to create these ornaments were skilled artisans who crafted intricate designs and shapes. The balls were initially made of glass, which was blown and shaped by skilled craftsmen. The intricate designs and shapes of the early Christmas balls were a testament to the skill and craftsmanship of the artisans who created them.
The Art of Creating Custom Christmas Balls
Creating custom Christmas balls is a fun and rewarding project that requires some basic materials and creativity. The process begins with choosing the material for your Christmas ball. While glass is a classic choice, you can also use mercury glass, metal, or even recycled materials such as old CDs or mason jars.
Materials Needed:
- Glass or mercury glass balls (available at craft stores or online)
- Paint and brushes
- Clear coat or varnish
- Glitter, rhinestones, or other decorative materials
- Ribbon or twine for hanging
- A design or inspiration
Designing Your Custom Christmas Ball
Before you start creating your custom Christmas ball, it’s essential to have a design or inspiration in mind. You can browse online for ideas, look through old holiday magazines, or create your own unique design. Some popular designs include:
- Monograms or initials
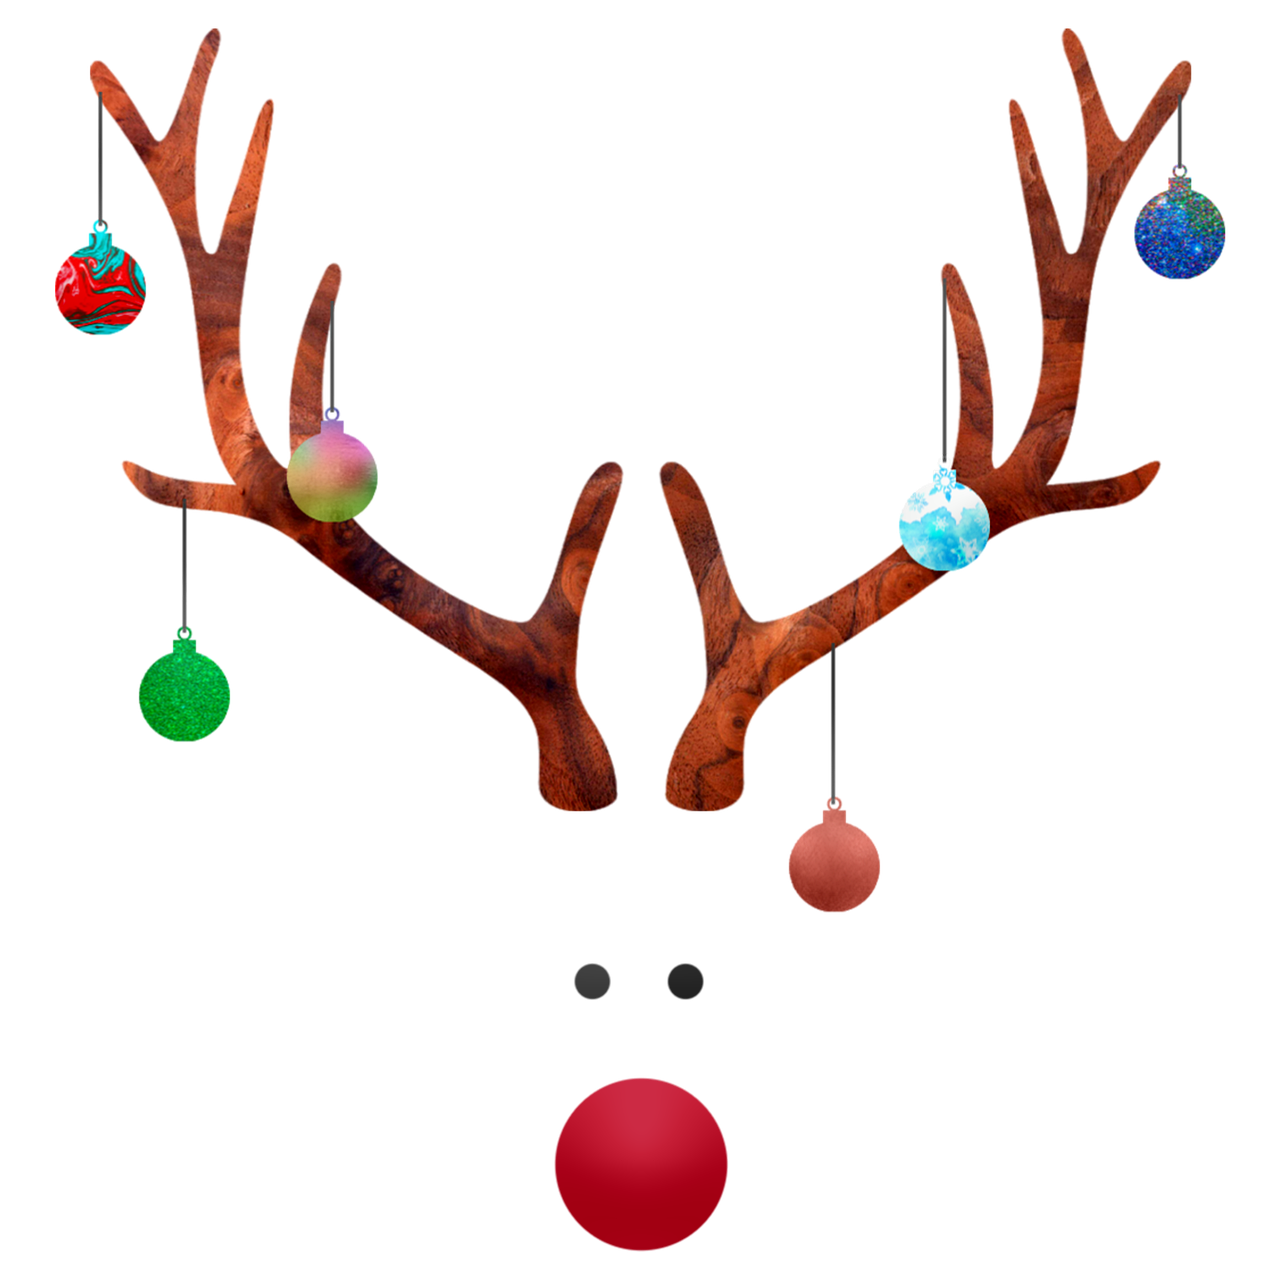
- Holiday-themed designs, such as snowflakes, reindeer, or Santas
- Colorful stripes or polka dots
- Vintage-inspired designs, such as mercury glass or antique finishes
Creating Your Custom Christmas Ball
Once you have your design or inspiration, it’s time to start creating your custom Christmas ball.
- Preparing the Ball: Wash the glass ball with soap and water to remove any dirt or debris. Dry the ball thoroughly with a soft cloth.
- Painting the Ball: Use a paintbrush to apply a base coat of paint to the ball. You can use a single color or create a multi-colored design.
- Adding Details: Use a smaller paintbrush to add details to your design, such as stripes, dots, or monograms.
- Sealing the Ball: Apply a clear coat or varnish to protect the paint and give the ball a glossy finish.
- Adding Decorations: Use glitter, rhinestones, or other decorative materials to add a touch of sparkle to your Christmas ball.
- Hanging the Ball: Tie a ribbon or twine around the top of the ball, creating a loop for hanging.
Tips and Variations:
- Using Mercury Glass: Mercury glass is a type of glass that has a silvered coating, giving it a reflective and ornate appearance. You can use mercury glass balls or create your own mercury glass effect using paint and varnish.
- Adding Dimension: You can add dimension to your Christmas ball by using resin or epoxy to create raised designs or patterns.
- Using Recycled Materials: Consider using recycled materials, such as old CDs or mason jars, to create a unique and eco-friendly Christmas ball.
- Creating a Collection: Create a set of custom Christmas balls with different designs or colors to create a beautiful and cohesive collection.
Displaying Your Custom Christmas Balls
Once you have created your custom Christmas balls, it’s time to display them proudly on your Christmas tree or around your home. Here are some tips for displaying your Christmas balls:
- Use a Variety of Shapes and Sizes: Mix and match different shapes and sizes of Christmas balls to create a visually interesting display.
- Create a Focal Point: Create a focal point on your tree or in your home by grouping several Christmas balls together.
- Use a Variety of Textures: Mix and match different textures, such as glass, mercury glass, and metal, to create a visually interesting display.
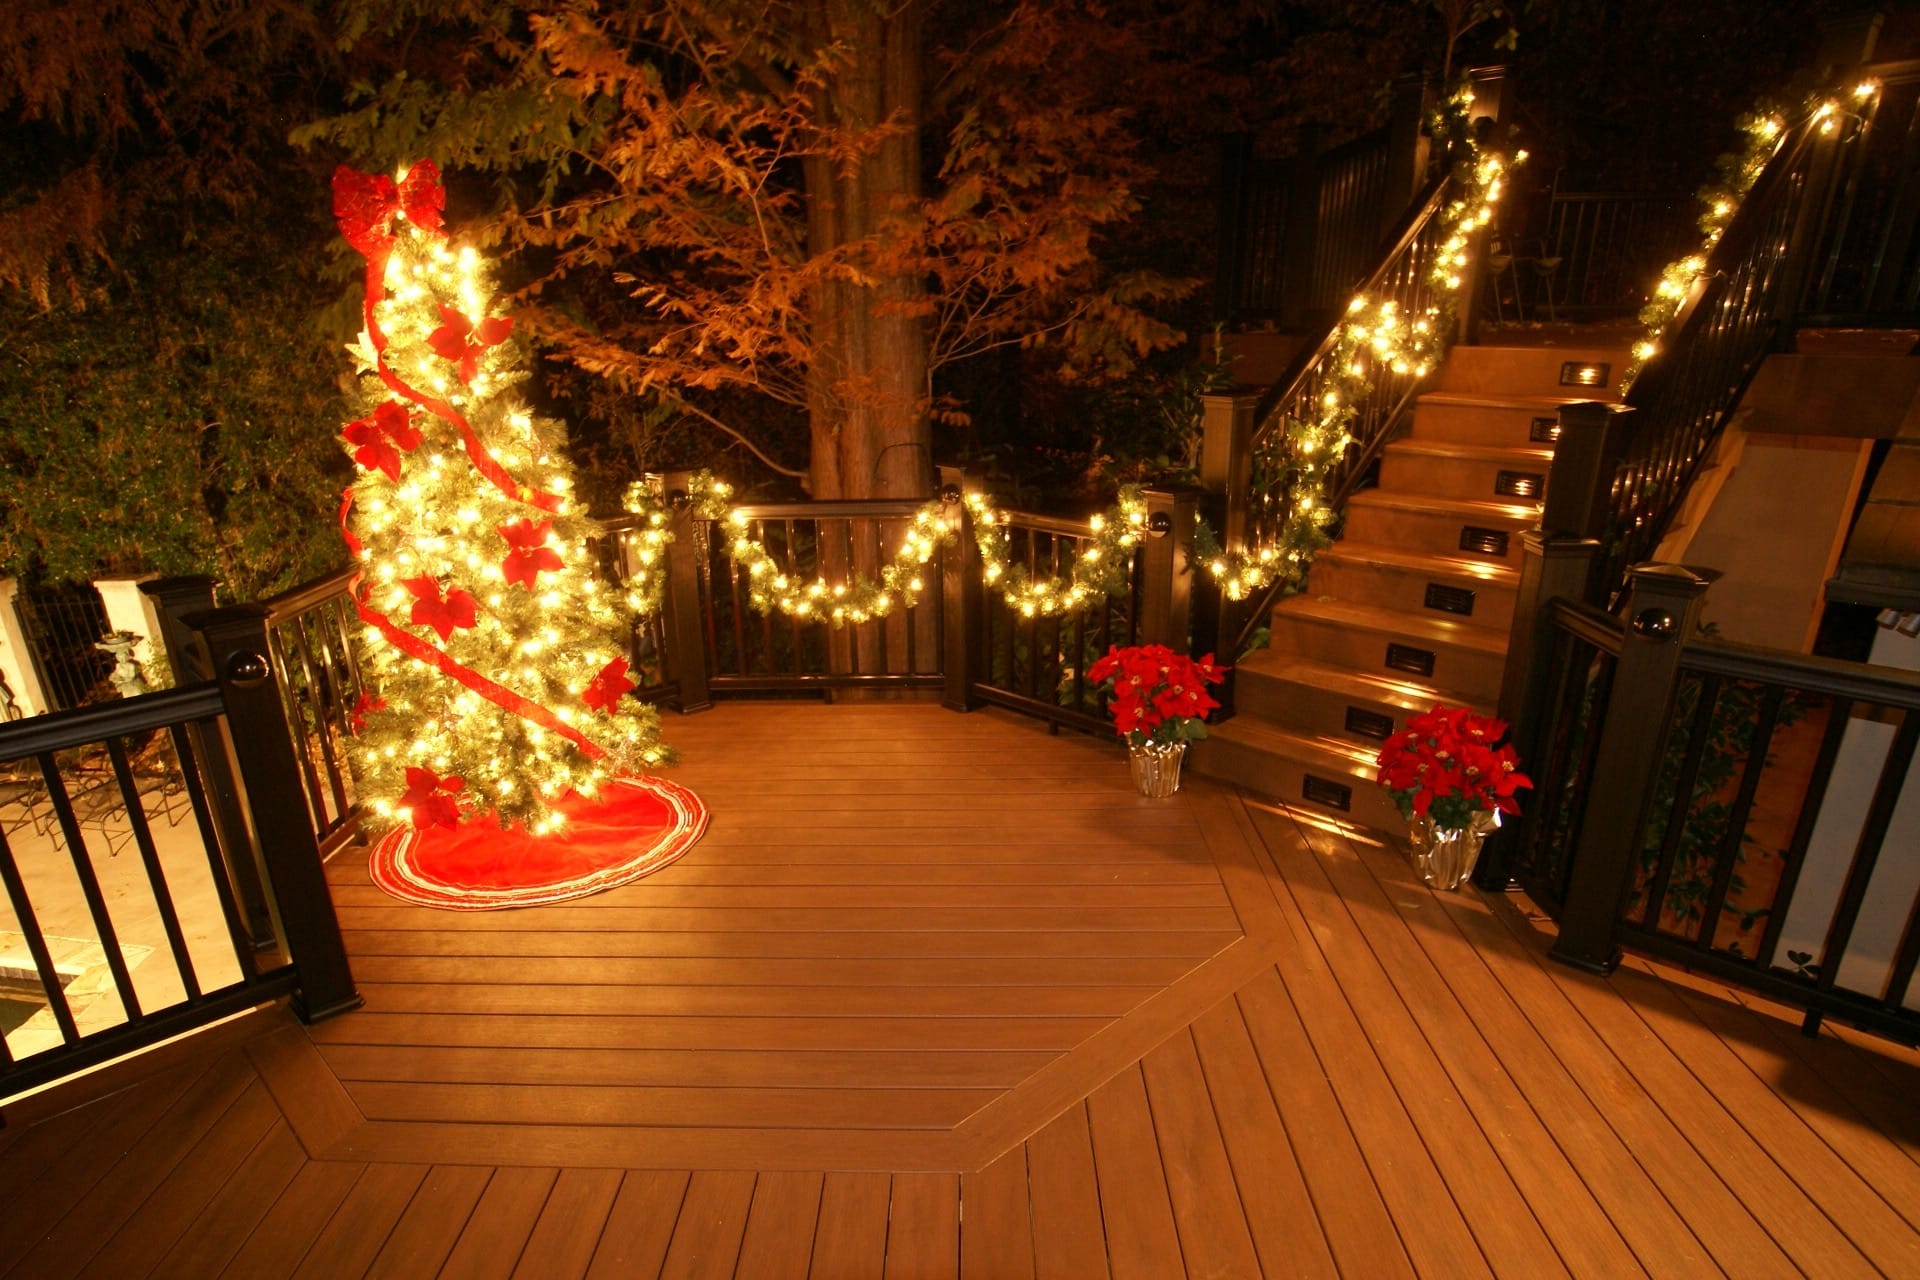
- Add Lights and Greenery: Add lights and greenery, such as garlands or swags, to create a beautiful and festive display.
Conclusion
Creating custom Christmas balls is a fun and rewarding project that allows you to add a personal touch to your holiday decor. With a few basic materials and some creativity, you can create beautiful and unique ornaments that will become treasured family heirlooms. Whether you’re creating a single ball or a collection, the process of creating custom Christmas balls is a fun and rewarding experience that’s sure to bring joy to you and your loved ones.
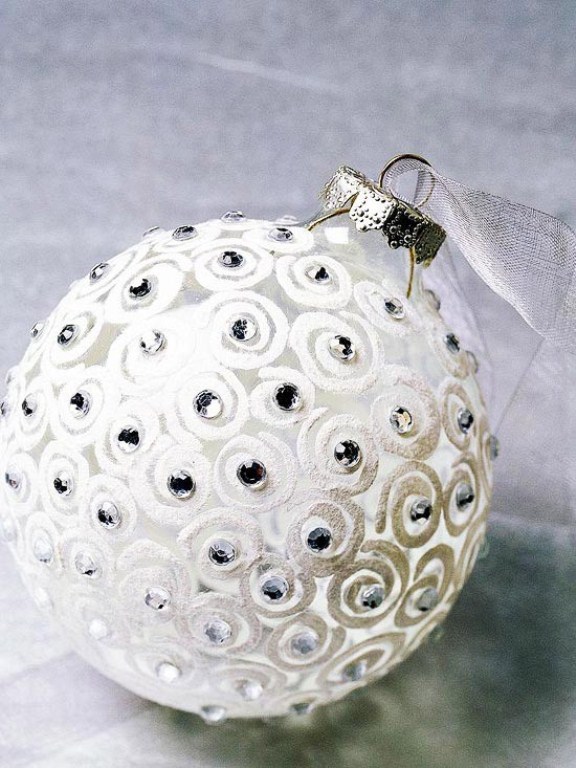
DIY Project: Custom Christmas Ball with Glitter and Rhinestones
Materials Needed:
- Glass or mercury glass ball
- Paint and brushes
- Clear coat or varnish
- Glitter and rhinestones
- Ribbon or twine for hanging
Step-by-Step Instructions:
- Prepare the ball by washing it with soap and water and drying it thoroughly.
- Paint a base coat of paint on the ball, using a single color or creating a multi-colored design.
- Add details to the design using a smaller paintbrush, such as stripes or dots.
- Seal the ball with a clear coat or varnish.
- Apply glitter and rhinestones to the ball, using a small amount of glue or adhesive.
- Tie a ribbon or twine around the top of the ball, creating a loop for hanging.
Tips and Variations:
- Use a variety of colors and shapes of glitter to create a unique and eye-catching design.
- Add a few rhinestones to create a touch of luxury and elegance.
- Use a different shape or size of ball to create a unique and interesting design.
- Create a set of custom Christmas balls with different designs or colors to create a beautiful and cohesive collection.
Common Mistakes to Avoid:
- Using too much glitter or rhinestones, which can create a cluttered and messy look.
- Not sealing the ball properly, which can cause the paint or decorations to chip or flake off.
- Not using a clear coat or varnish, which can leave the ball looking dull and incomplete.
- Not using a strong adhesive or glue, which can cause the decorations to fall off.
Conclusion
Creating a custom Christmas ball with glitter and rhinestones is a fun and rewarding project that allows you to add a personal touch to your holiday decor. With a few basic materials and some creativity, you can create a beautiful and unique ornament that’s sure to bring joy to you and your loved ones.


Closure
Thus, we hope this article has provided valuable insights into "Deck the Halls: A Guide to Creating Custom Christmas Balls for a Unique Holiday Season". We thank you for taking the time to read this article. See you in our next article!
Leave a Reply