Royal Icing Christmas Tree: A Step-by-Step Guide to Decorating the Perfect Tree
Royal Icing Christmas Tree: A Step-by-Step Guide to Decorating the Perfect Tree
Introduction
With great pleasure, we will explore the intriguing topic related to Royal Icing Christmas Tree: A Step-by-Step Guide to Decorating the Perfect Tree. Let’s weave interesting information and offer fresh perspectives to the readers.
Table of Content
Royal Icing Christmas Tree: A Step-by-Step Guide to Decorating the Perfect Tree

The holiday season is upon us, and what better way to get into the festive spirit than by decorating a Christmas tree? While traditional trees are beautiful, why not try something new and unique this year? A royal icing Christmas tree is a stunning and delicious alternative to traditional trees. Made with sugar cookies, royal icing, and decorative candies, these trees are almost too pretty to eat. Almost.
In this article, we will guide you through the process of creating a beautiful royal icing Christmas tree, from baking the perfect sugar cookies to decorating the tree with intricate details.
Materials Needed:
- Sugar cookie dough (see recipe below)
- Royal icing (see recipe below)
- Piping bags and tips
- Decorative candies (such as sprinkles, nonpareils, and M&M’s)
- Edible glitter
- Fondant or gum paste (optional)
- Cardboard or foam core base (optional)
Sugar Cookie Recipe:
- 2 1/4 cups all-purpose flour
- 1 tsp baking powder
- 1 tsp baking soda
- 1 tsp salt
- 1 cup unsalted butter, softened
- 3/4 cup granulated sugar
- 1 egg
- 1 tsp vanilla extract
- Colored sugar or sprinkles for decoration (optional)
Royal Icing Recipe:
- 1 cup powdered sugar
- 2-3 Tbsp meringue powder
- 2-3 Tbsp water
- Food coloring (optional)
Instructions:
Step 1: Bake the Sugar Cookies
- Preheat the oven to 375°F (190°C). Line a baking sheet with parchment paper or a silicone mat.
- In a medium bowl, whisk together the flour, baking powder, baking soda, and salt.
- In a large bowl, use an electric mixer to cream together the butter and sugar until light and fluffy.
- Beat in the egg and vanilla extract.
- Gradually add the dry ingredients to the wet ingredients and mix until a dough forms.
- Wrap the dough in plastic wrap and refrigerate for at least 30 minutes.
- On a lightly floured surface, roll out the dough to about 1/4 inch thickness.
- Use a cookie cutter to cut out the desired shapes. For a Christmas tree, use a triangle-shaped cookie cutter.
- Place the cookies on the prepared baking sheet, leaving about 1 inch of space between each cookie.
- Bake for 10-12 minutes, or until the edges are lightly golden.
- Allow the cookies to cool on the baking sheet for 5 minutes before transferring them to a wire rack to cool completely.
Step 2: Make the Royal Icing
- In a small bowl, whisk together the powdered sugar and meringue powder.
- Gradually add the water to the sugar mixture, whisking until smooth and stiff peaks form.
- If desired, add a few drops of food coloring to tint the icing.
- Transfer the icing to a piping bag fitted with a small round tip.
Step 3: Assemble the Tree
- On a large piece of cardboard or foam core, create a triangle-shaped base for the tree.
- Arrange the cooled sugar cookies on the base, starting from the bottom and working your way up.
- Use a dab of royal icing to "glue" each cookie to the one below it.
- Continue adding cookies, slightly overlapping each one to create a layered effect.
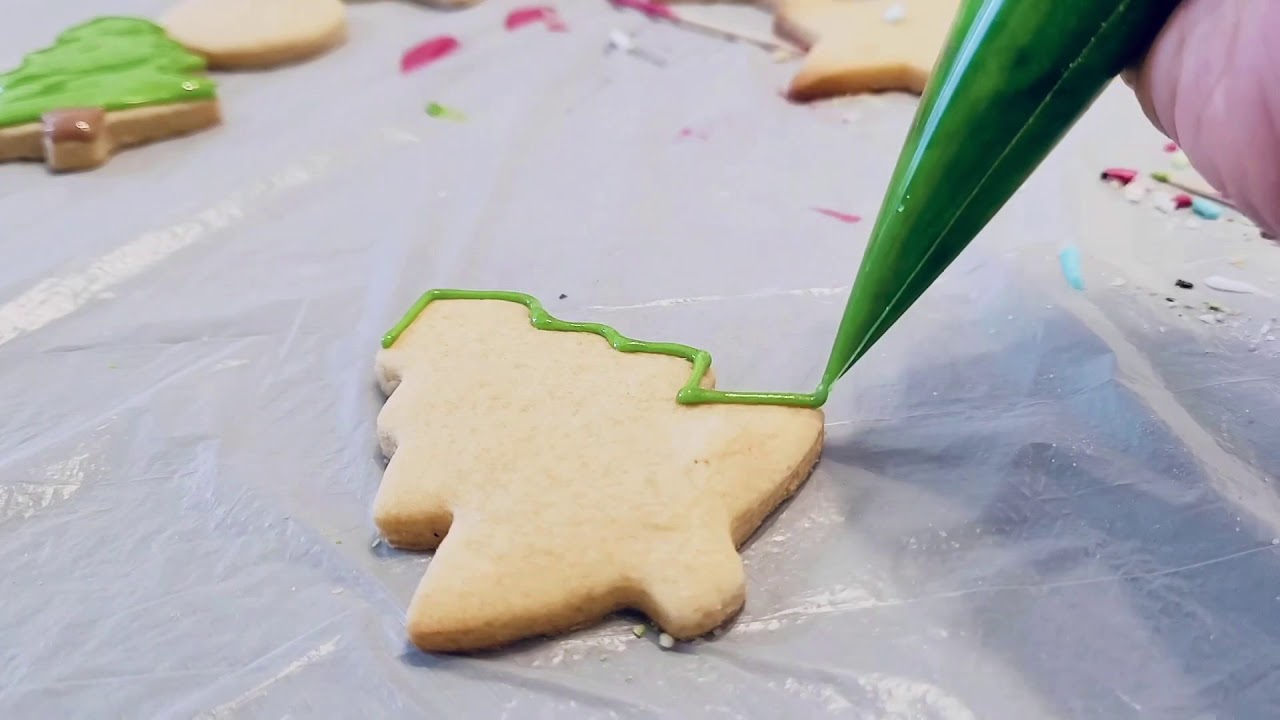
Step 4: Decorate the Tree
- Use the royal icing to pipe on the details of the tree, such as the trunk, branches, and ornaments.
- Add decorative candies, such as sprinkles, nonpareils, and M&M’s, to create a festive look.
- Use edible glitter to add a touch of sparkle to the tree.
- If desired, use fondant or gum paste to create intricate details, such as snowflakes or garlands.
- Allow the icing to set completely before serving.
Tips and Variations:
- To create a more stable tree, use a cardboard or foam core base and secure the cookies with royal icing or melted chocolate.
- To add extra dimension to the tree, use a combination of large and small cookies.
- To create a themed tree, use colored sugar or sprinkles to match your desired color scheme.
- To make the tree more durable, use a combination of royal icing and melted chocolate to "glue" the cookies together.
- To create a show-stopping centerpiece, use a large cookie or cake as the base and add multiple tiers of smaller cookies.
Tips for Working with Royal Icing:
- Make sure the royal icing is the right consistency by adding water slowly and testing it frequently.
- Use a piping bag with a small round tip to create intricate details.
- Work in a cool, dry environment to prevent the icing from becoming too soft or sticky.
- Use a turntable or rotating cake stand to make it easier to decorate the tree.
- Allow the icing to set completely before handling the tree.
Common Mistakes:
- Using too much water in the royal icing, resulting in a runny consistency.
- Not allowing the icing to set completely, resulting in a messy, sticky tree.
- Not using a stable base, resulting in a tree that topples over easily.
- Over-decorating the tree, resulting in a cluttered, messy look.
Conclusion:
A royal icing Christmas tree is a unique and delicious alternative to traditional trees. With the right materials and a little practice, you can create a stunning and festive centerpiece that will impress your family and friends. Remember to work patiently and carefully, and don’t be afraid to experiment with different colors and decorations. Happy decorating!
Bonus: Royal Icing Christmas Tree Ideas:
- Use a combination of large and small cookies to create a multi-tiered tree.
- Add a festive holiday message or name to the tree using royal icing.
- Create a themed tree, such as a winter wonderland or a snowy village.
- Use edible glitter or luster dust to add a touch of sparkle to the tree.
- Create a mini tree using small cookies and royal icing, perfect for a desk or tabletop.
- Use royal icing to create intricate details, such as snowflakes or garlands.
- Add a festive holiday bow or ribbon to the top of the tree.
Royal Icing Christmas Tree FAQs:
- Q: How long does it take to make a royal icing Christmas tree?
A: Depending on the size and complexity of the tree, it can take anywhere from 30 minutes to several hours to make. - Q: What type of cookies are best for a royal icing Christmas tree?
A: Sugar cookies are the best type of cookie to use for a royal icing Christmas tree, as they are sturdy and can hold their shape. - Q: Can I make a royal icing Christmas tree ahead of time?
A: Yes, you can make the cookies and royal icing ahead of time, but it’s best to assemble the tree just before serving. - Q: How do I store a royal icing Christmas tree?
A: Store the tree in an airtight container in a cool, dry place. Avoid exposing the tree to direct sunlight or heat. - Q: Can I use royal icing to decorate a traditional Christmas tree?
A: Yes, you can use royal icing to decorate a traditional Christmas tree, but keep in mind that the icing may not hold up well to the elements.
By following these steps and tips, you can create a stunning and delicious royal icing Christmas tree that will be the centerpiece of your holiday celebrations. Happy decorating!


Closure
Thus, we hope this article has provided valuable insights into Royal Icing Christmas Tree: A Step-by-Step Guide to Decorating the Perfect Tree. We thank you for taking the time to read this article. See you in our next article!
Leave a Reply