Title: Creating a Festive Christmas Tree Cupcake Stand to Delight Your Guests
Title: Creating a Festive Christmas Tree Cupcake Stand to Delight Your Guests
Introduction
In this auspicious occasion, we are delighted to delve into the intriguing topic related to Title: Creating a Festive Christmas Tree Cupcake Stand to Delight Your Guests. Let’s weave interesting information and offer fresh perspectives to the readers.
Table of Content
Title: Creating a Festive Christmas Tree Cupcake Stand to Delight Your Guests
Introduction
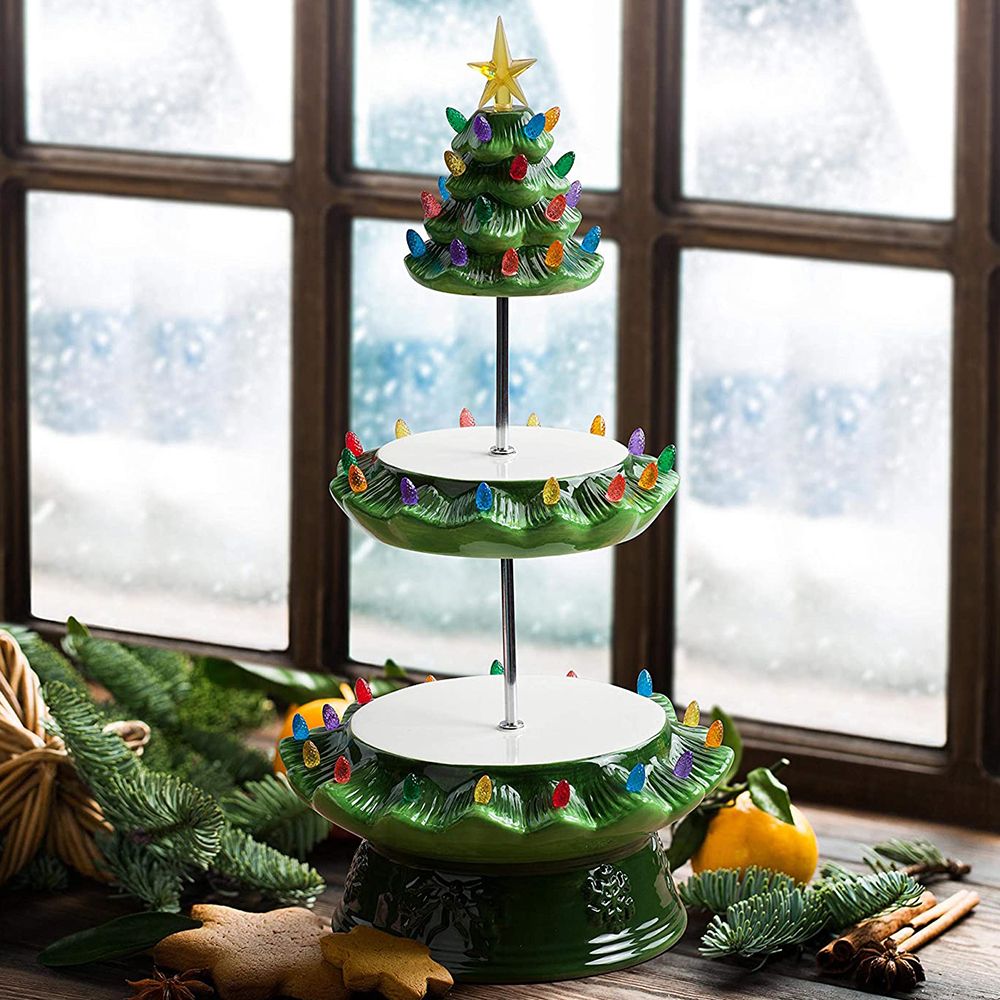
Christmas is a time for families and friends to come together, share in the joy and magic of the season, and indulge in sweet treats that bring smiles to their faces. One of the most delightful ways to add to the festive atmosphere is by creating a stunning Christmas tree cupcake stand that showcases an array of delicious cupcakes in a stylish and visually appealing display. In this article, we will guide you through the process of creating a show-stopping Christmas tree cupcake stand that will impress your guests and make your holiday celebrations even more memorable.
Materials Needed
Before we dive into the fun part, let’s gather the necessary materials to create our Christmas tree cupcake stand:
- Cardboard or foam core (for the base)
- Styrofoam or paper maché (for the tree shape)
- Green or white fondant or gum paste (for the branches)
- Cupcake stand or tiered serving dish
- Cupcakes of various flavors and decorations
- Icing and piping bags
- Edible decorations (such as sprinkles, holly, or other festive-themed decorations)
- A flat surface for assembling and decorating
Step 1: Creating the Base
To create the base of our Christmas tree cupcake stand, we need a sturdy foundation that will hold the structure and prevent it from toppling over. You can use cardboard or foam core for this purpose. Cut a flat rectangle about 12 inches wide and 18 inches long, depending on the size of your cupcakes and the number of tiers you plan to create.
Step 2: Shaping the Tree
To create the unique Christmas tree shape, we’ll use Styrofoam or paper maché. Cut a triangle or a cone shape from Styrofoam or paper maché, making sure it’s large enough to form the base of the tree. If you’re using paper maché, you may need to create multiple layers to achieve the desired thickness.
Step 3: Creating the Branches
To create the branches of our Christmas tree, we’ll use green or white fondant or gum paste. Roll out the fondant or gum paste to a desired thickness, and then use a cookie cutter or a knife to cut out long, thin strips. You can also use a toothpick or a skewer to create a zigzag pattern along the length of the branches.
Step 4: Assembling the Tree
Place the Styrofoam or paper maché base onto the cardboard or foam core base, making sure it’s centered. Then, begin attaching the branches to the base using a dab of edible glue or piping gel. Start at the bottom of the tree and work your way up, using a hot glue gun to secure any stubborn branches.
Step 5: Decorating the Tree
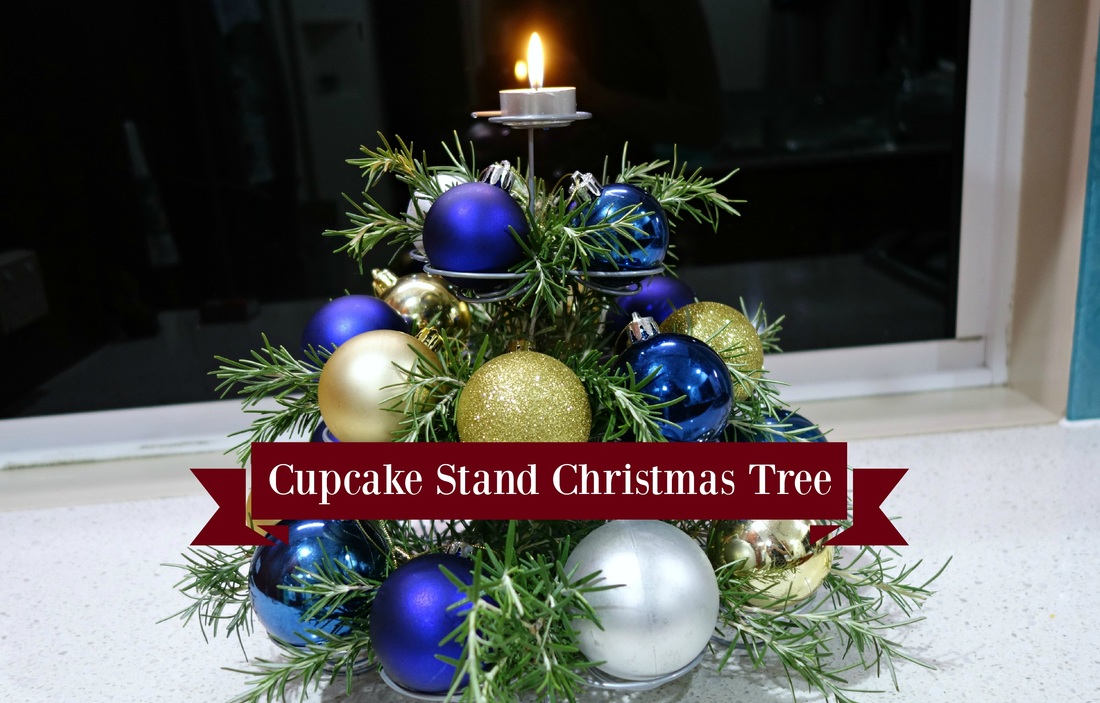
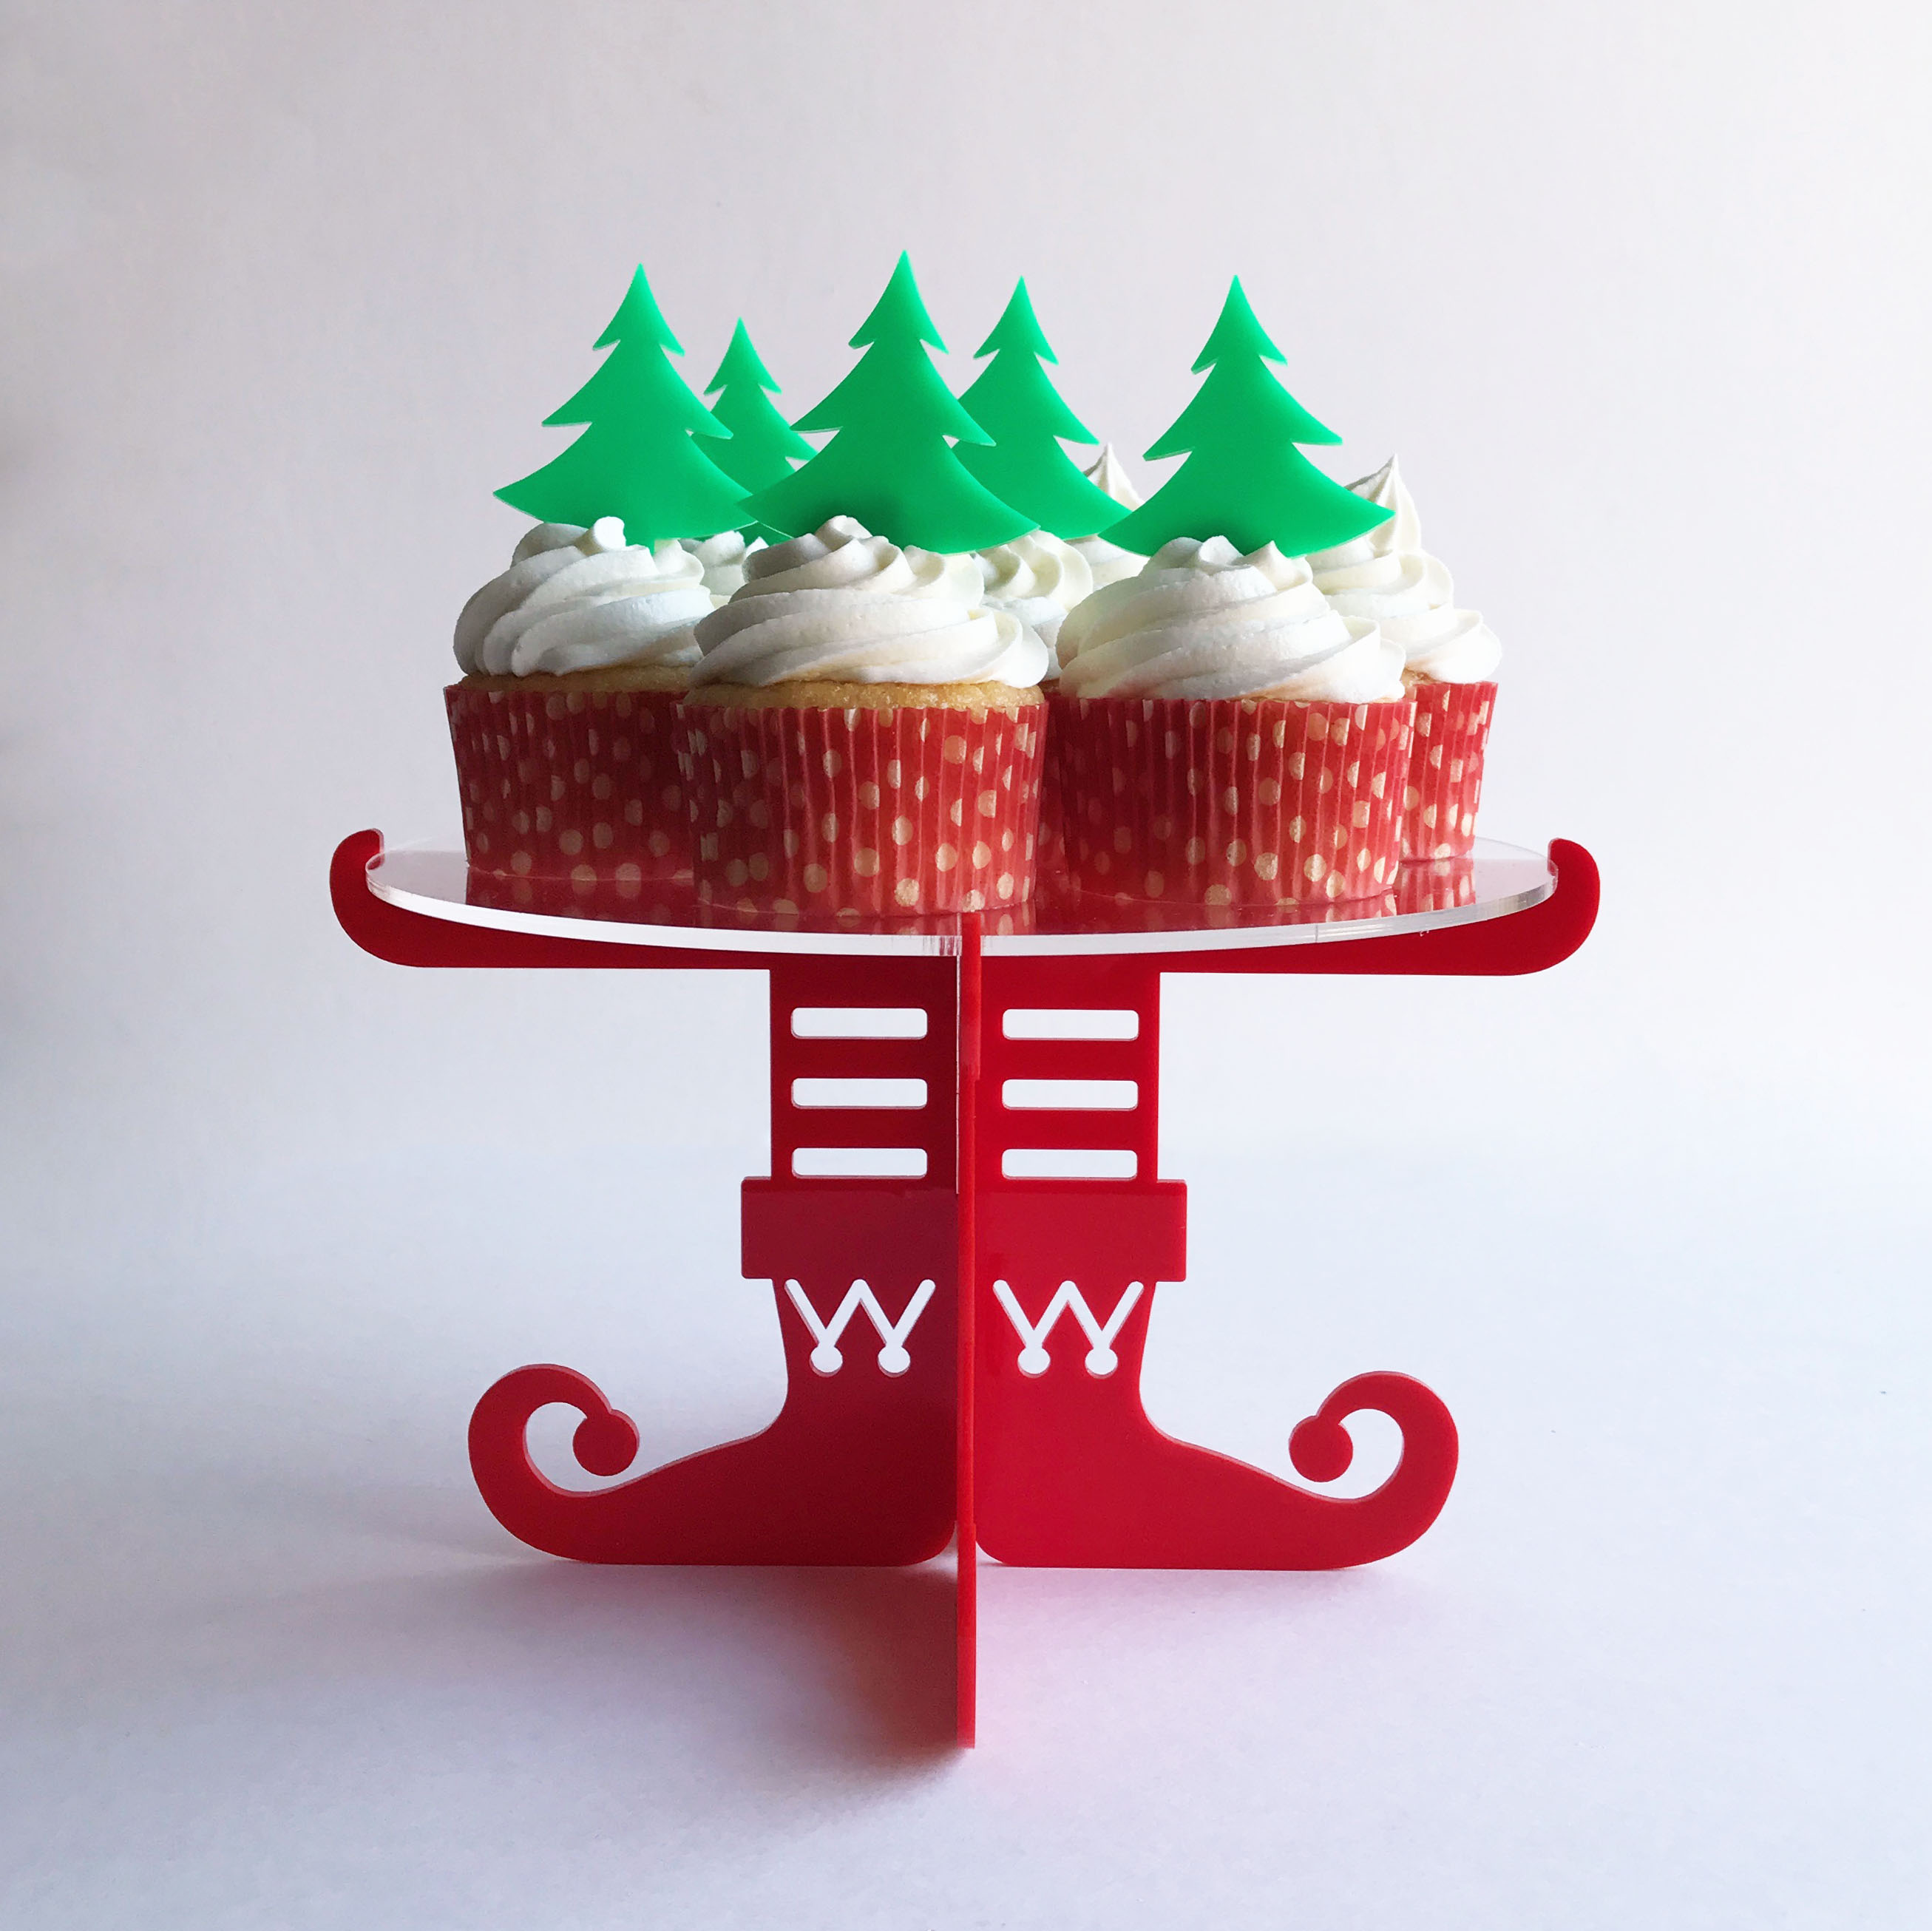
Once the branches are securely attached, it’s time to decorate our Christmas tree cupcake stand. Use icing and piping bags to create a trunk and a star or a tree topper. You can also use edible decorations such as sprinkles, holly, or other festive-themed decorations to add a pop of color and whimsy.
Step 6: Building the Cupcake Stand
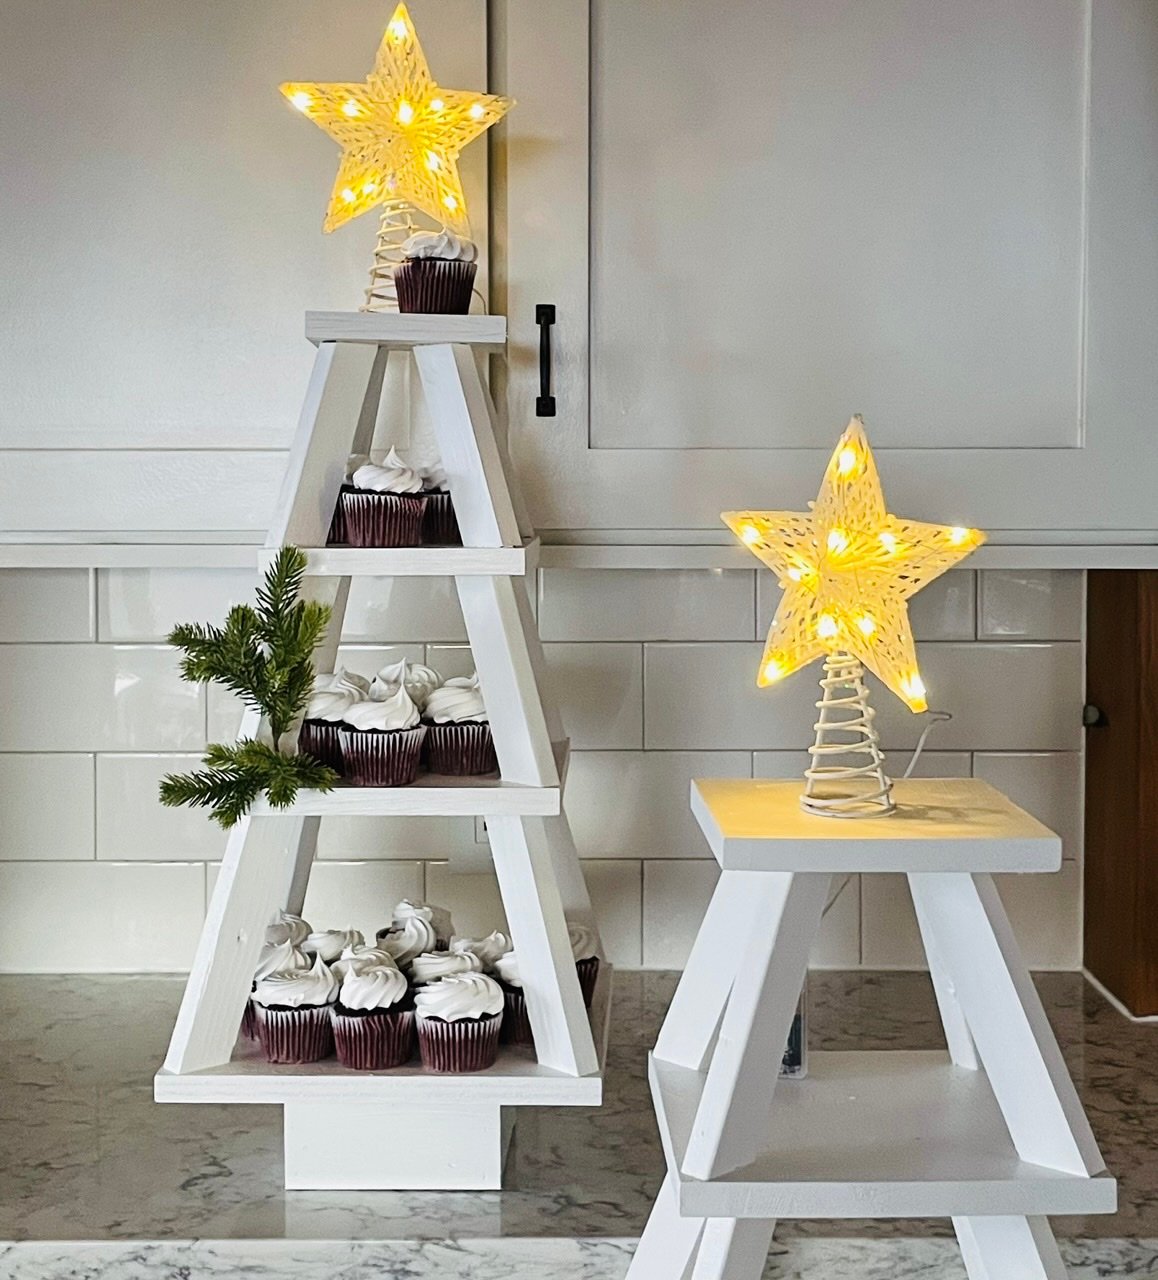
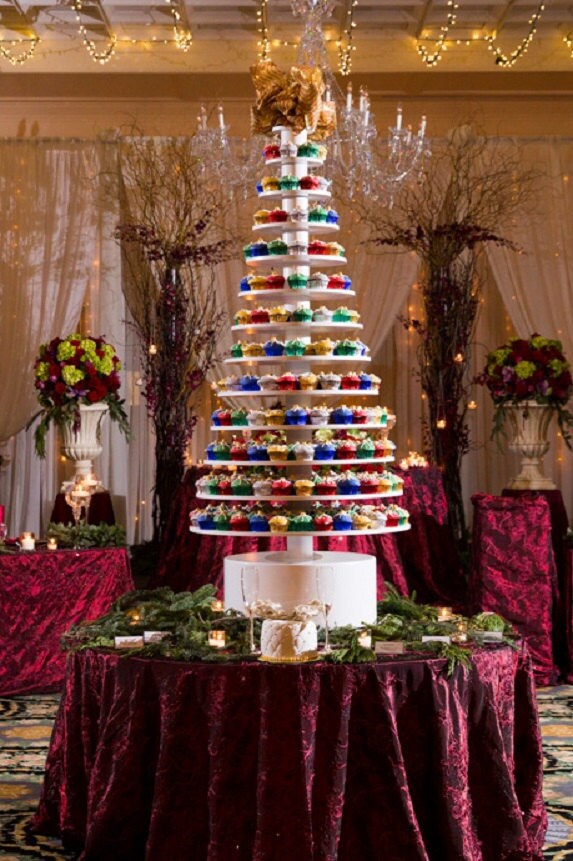
To create the cupcake stand portion of our display, we’ll need to use a cupcake stand or a tiered serving dish. Choose a dish that has at least three tiers to accommodate our cupcakes. Place the center tier in the cardboard or foam core base, making sure it’s level and secure. Then, add the additional tiers, working your way outwards.
Step 7: Adding Cupcakes and Decorations
Once the cupcake stand is assembled, it’s time to add our delicious cupcakes. Choose a variety of flavors and decorations, and arrange them on the cupcake stand in a visually appealing way. Use icing and piping bags to create intricate designs and patterns on the cupcakes.
Step 8: Finishing Touches
The final step is to add any finishing touches to our Christmas tree cupcake stand. Use edible decorations such as sprinkles, holly, or other festive-themed decorations to add a pop of color and whimsy. You can also use a small string of fairy lights or a candle to create a warm ambiance around the display.
Tips and Variations
Here are a few tips and variations to consider when creating your Christmas tree cupcake stand:
- To add an extra layer of realism, use shredded coconut or crushed nuts to create the appearance of snow around the base of the tree.
- Consider using a variety of cupcake shapes and sizes to add visual interest to the display.
- Use a flavored extract or a spice to give your cupcakes a unique and festive flavor.
- Consider hosting a cupcake decorating party where guests can add their own decorations to create a unique design.
Conclusion
Creating a Christmas tree cupcake stand is a fun and easy project that’s sure to delight your guests and add to the festive atmosphere of your holiday celebrations. With these simple steps and tips, you’ll be able to create a stunning display that showcases your delicious cupcakes in a stylish and visually appealing way. So why not get creative and give it a try?
Glossary of Terms
- Fondant: a type of sugar paste used for cake decorating and sculpture.
- Gum paste: a type of sugar paste used for cake decorating and sculpture that’s more pliable than fondant.
- Icing: a sweet topping made from sugar and often used for cake decorating.
- Piping bags: bags used to create intricate designs and patterns on cakes and cupcakes using icing.
- Cupcake stand: a tiered serving dish used to display multiple cupcakes.
- Tiered serving dish: a serving dish with multiple levels or tiers used to display food.
Advantages and Disadvantages of Creating a Christmas Tree Cupcake Stand
Advantages:
- Creates a festive and visually appealing display.
- Allows guests to easily pick up and eat cupcakes.
- Can be customized with different flavors and decorations.
Disadvantages:
- Requires a lot of creativity and skill to create a visually appealing display.
- Can be time-consuming to assemble and decorate.
- May not be suitable for large gatherings or events.
Common Mistakes to Avoid
- Using too much fondant or gum paste, which can cause the branches to become stiff and brittle.
- Not securing the branches well enough, which can cause them to fall off while transporting the display.
- Using the wrong type of icing or piping bags, which can cause the designs to look messy or uneven.
Conclusion (Again)
Creating a Christmas tree cupcake stand is a fun and rewarding project that’s sure to delight your guests and add to the festive atmosphere of your holiday celebrations. With these simple steps and tips, you’ll be able to create a stunning display that showcases your delicious cupcakes in a stylish and visually appealing way. So why not get creative and give it a try?


Closure
Thus, we hope this article has provided valuable insights into Title: Creating a Festive Christmas Tree Cupcake Stand to Delight Your Guests. We thank you for taking the time to read this article. See you in our next article!
Leave a Reply