Title: "Get Ready for Holiday Cheer with a Customizable Christmas Apron Pattern"
Title: "Get Ready for Holiday Cheer with a Customizable Christmas Apron Pattern"
Introduction
With enthusiasm, let’s navigate through the intriguing topic related to Title: "Get Ready for Holiday Cheer with a Customizable Christmas Apron Pattern". Let’s weave interesting information and offer fresh perspectives to the readers.
Table of Content
Title: "Get Ready for Holiday Cheer with a Customizable Christmas Apron Pattern"

Introduction
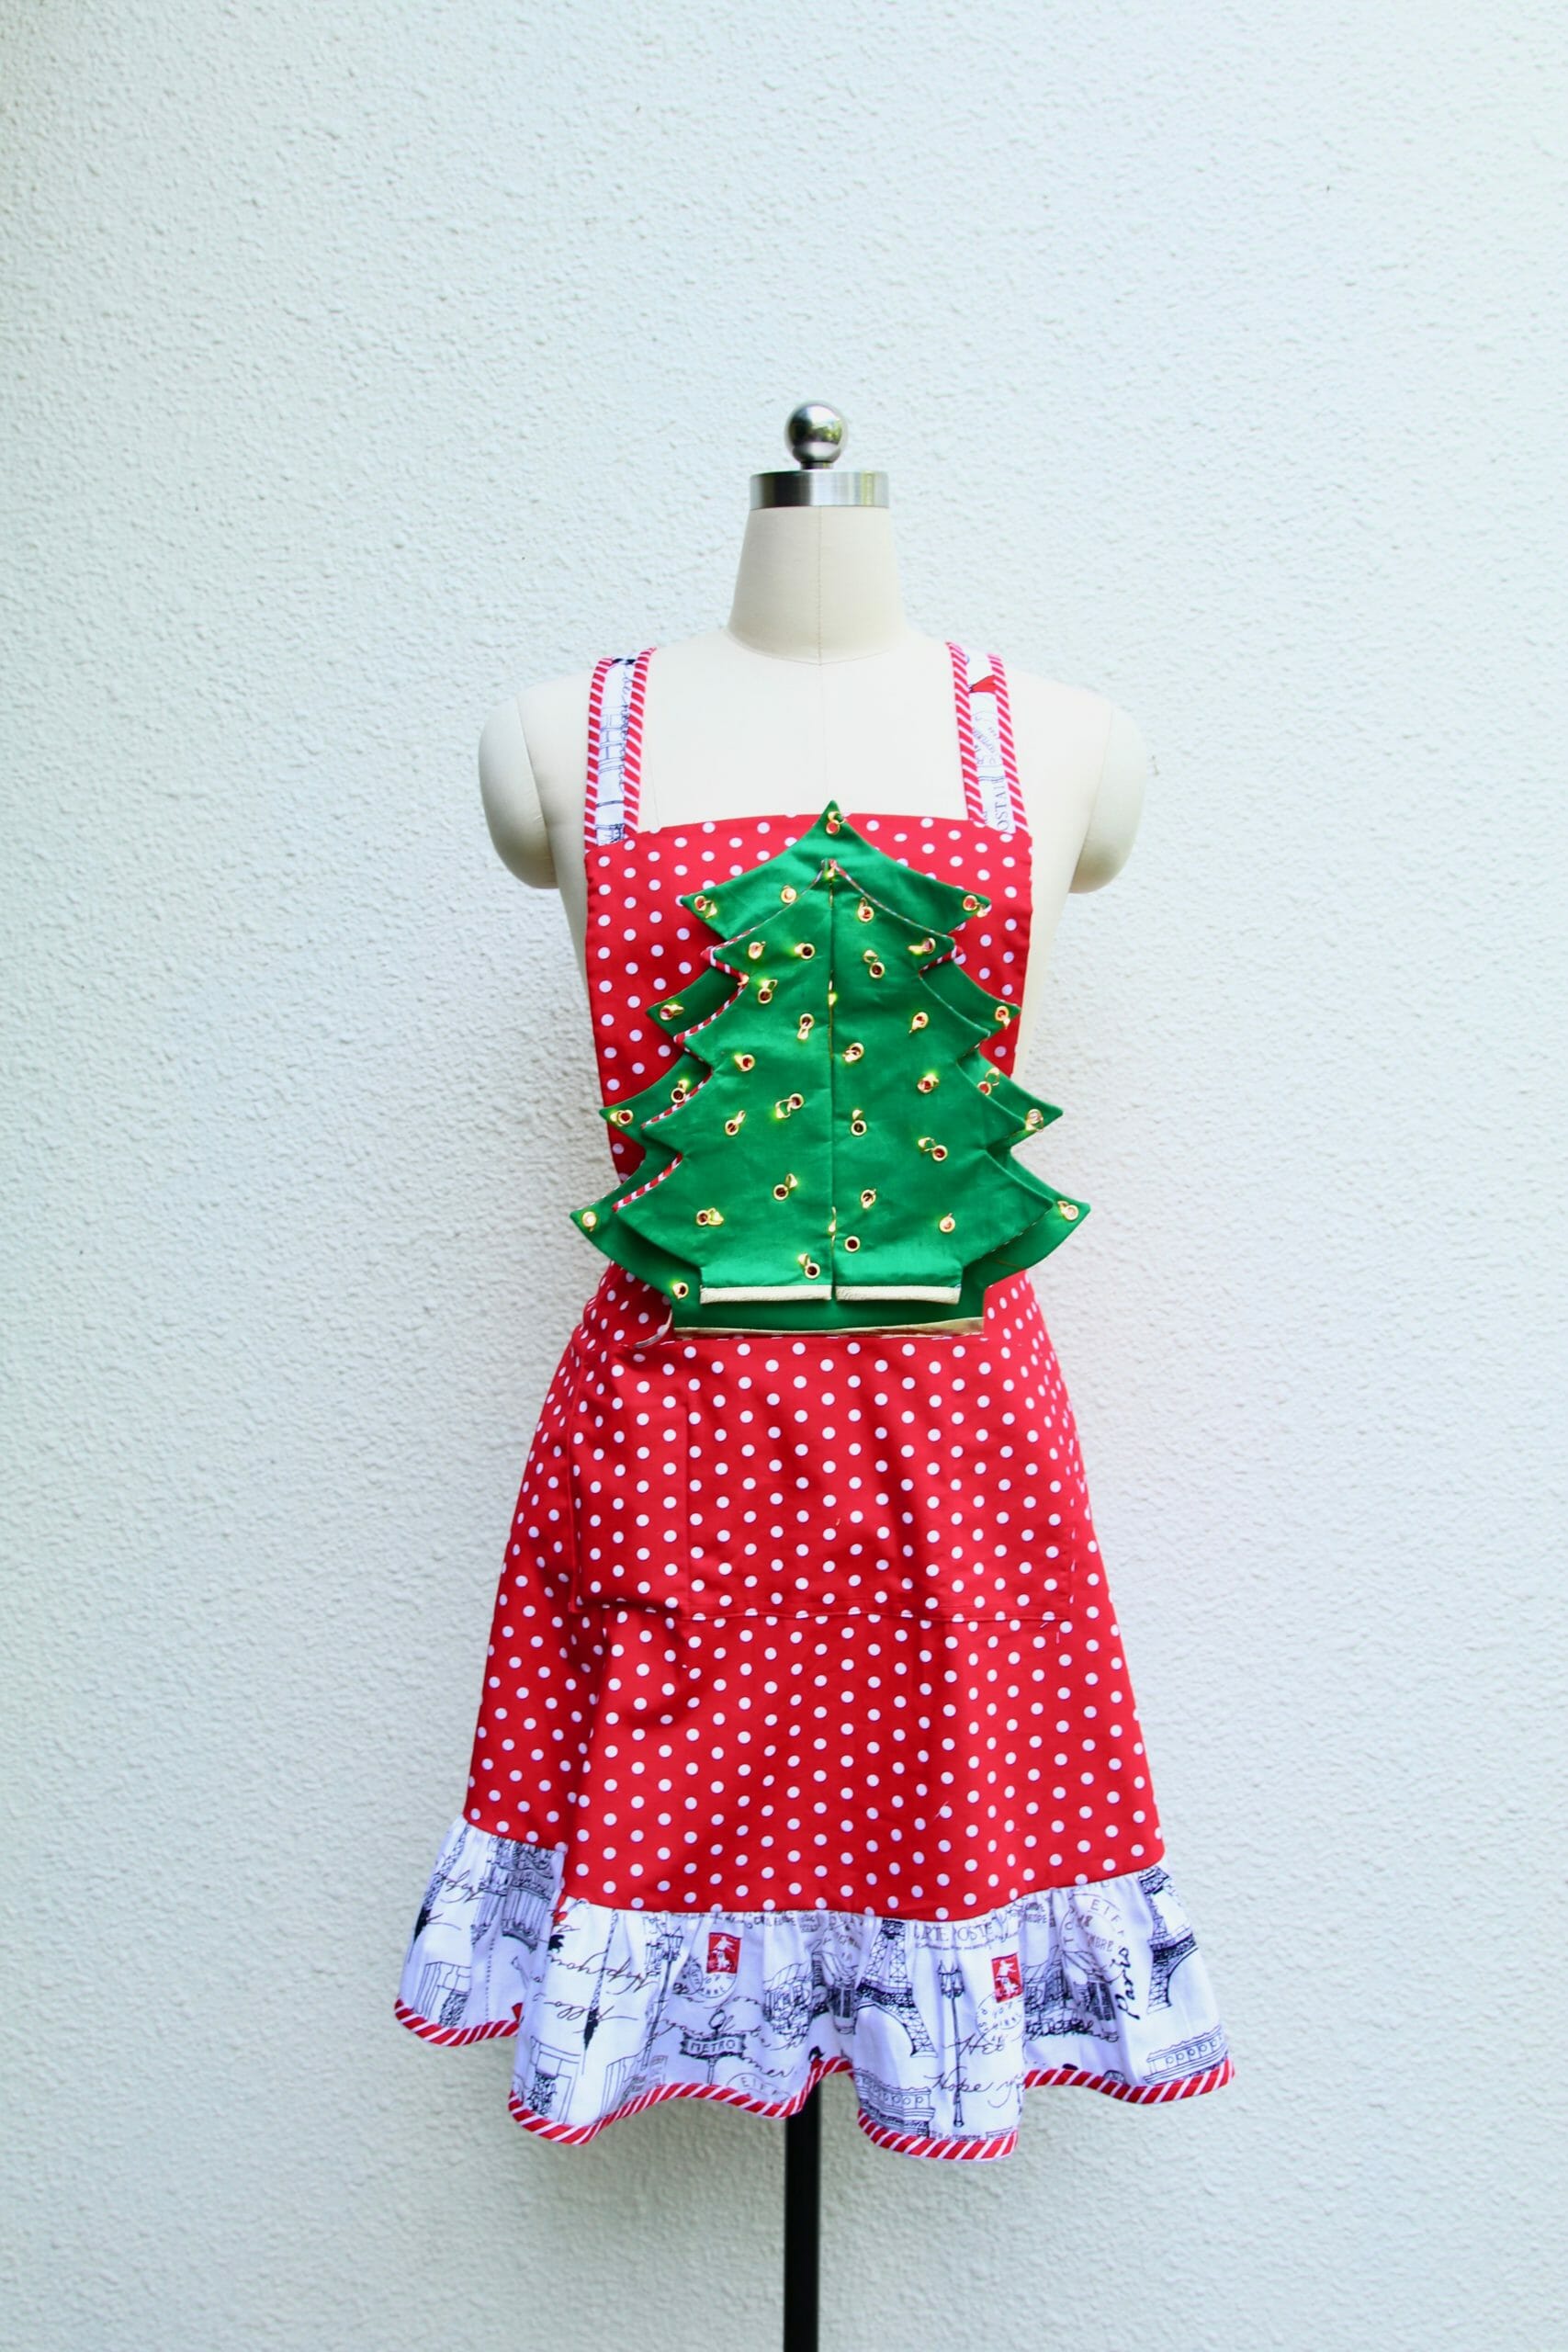
Christmas is a time of joy, giving, and indulgence in sweet treats. To make the holiday season even more special, we’ve designed a customizable Christmas apron pattern that you can use to create a unique and festive gift for yourself or your loved ones. This article will guide you through the process of making a Christmas apron that’s not only functional but also a statement piece for your kitchen decor.
Why Make a Christmas Apron?
A Christmas apron is a thoughtful and practical gift for anyone who loves cooking and baking during the holiday season. Here are a few reasons why you should make one:
- Functional: A Christmas apron keeps your clothes clean and protected while you cook and bake, making it an essential item for any home cook or baker.
- Festive: A Christmas apron adds a touch of holiday cheer to your kitchen, making it a perfect accessory for the season.
- Customizable: Our pattern allows you to customize the design, colors, and fabrics to suit your personal style and preferences.
- Gift-worthy: A handmade Christmas apron is a thoughtful and unique gift for friends and family members.
Christmas Apron Pattern Tutorial
Our Christmas apron pattern is designed for intermediate seamstresses and quilters. If you’re new to sewing, you may want to practice some basic skills before attempting this project. The pattern consists of the following components:
- Apron Body: The main body of the apron, which is the largest part of the apron.
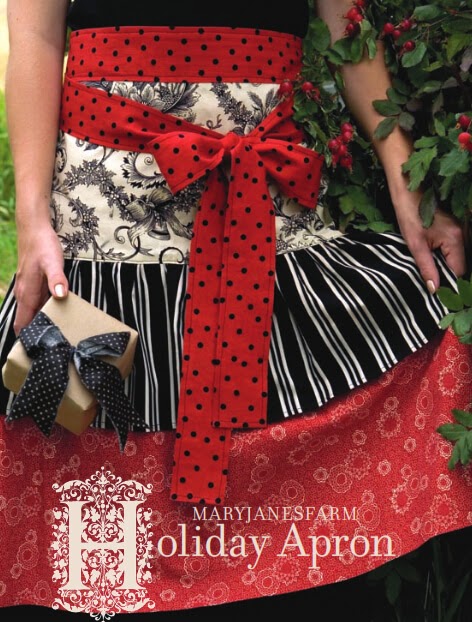
- Apron Tie: The tie that secures the apron in place.
- Pocket: A small pocket on the apron body for storing utensils or small gifts.
- Trim: A decorative trim that adds a finishing touch to the apron.
Materials Needed
To make the Christmas apron, you’ll need the following materials:
- Fabric: Choose a festive holiday fabric, such as cotton or flannel, in a design that matches your personality.
- Interfacing: Choose a lightweight interfacing, such as fusible web or stabilizer, to add stability to the apron body.
- Thread: Choose a matching thread color to blend with the fabric.
- Seam Ruler: A 1/4" seam ruler for precise sewing.
- Pins: Straight pins for marking and aligning the apron pieces.
- Scissors: Good-quality scissors for cutting the fabric.
- Sewing Machine: A basic sewing machine for sewing the apron pieces together.
Step-by-Step Instructions
Step 1: Cut Out the Apron Body
Cut two apron body pieces from the festive holiday fabric, using the pattern pieces provided. Make sure to cut the pieces accurately, as this is the foundation of the apron.
Step 2: Cut Out the Pocket
Cut one pocket piece from the same fabric as the apron body. The pocket piece should be slightly smaller than the apron body piece.
Step 3: Cut Out the Tie
Cut two tie pieces from the same fabric as the apron body. The tie pieces should be long and thin, about 20" long.
Step 4: Place the Apron Body and Interfacing Together
Place the apron body pieces together, with the wrong sides facing each other. Place the interfacing on top of the apron body, aligning the edges carefully.
Step 5: Pin the Apron Body and Interfacing Together
Pin the apron body and interfacing together, making sure to align the edges carefully.
Step 6: Sew the Apron Body and Interfacing Together
Sew the apron body and interfacing together, using a 1/4" seam allowance. Make sure to backstitch at the beginning and end of the seam.
Step 7: Turn the Apron Body Right Side Out
Turn the apron body right side out, making sure to press the seams flat.
Step 8: Topstitch the Apron Body
Topstitch the apron body, using a contrasting thread color to add a decorative touch.
Step 9: Place the Pocket on the Apron Body
Place the pocket on the apron body, aligning it carefully.
Step 10: Pin the Pocket on the Apron Body
Pin the pocket on the apron body, making sure to align the edges carefully.
Step 11: Sew the Pocket on the Apron Body
Sew the pocket on the apron body, using a 1/4" seam allowance.
Step 12: Add the Trim
Add a decorative trim to the apron body, using a contrasting thread color to add a finishing touch.
Step 13: Attach the Tie
Attach the tie to the apron body, using a 1/4" seam allowance.
Step 14: Hem the Tie
Hem the tie, using a contrasting thread color to add a decorative touch.
Tips and Variations
Here are some tips and variations to help you customize the Christmas apron pattern:
- Use different fabrics: Use different fabrics to create a unique and personalized apron.
- Add a pocket: Add a small pocket to the apron body for storing utensils or small gifts.
- Change the tie: Change the tie to a different design or color to add a unique touch.
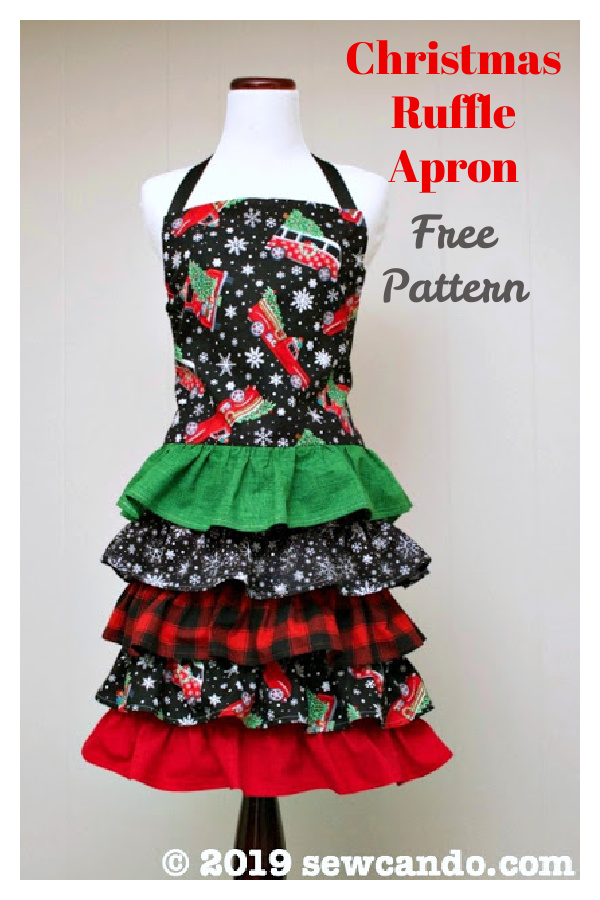
- Add a ruffle: Add a ruffle to the apron body for a more feminine touch.
- Use a cute design: Use a cute design, such as snowflakes or reindeer, to add a festive touch.
Conclusion
With this Christmas apron pattern tutorial, you can create a unique and festive gift for yourself or your loved ones. The customizable design allows you to add your personal touch and make the apron truly special. Whether you’re a seasoned sewer or a beginner, this pattern is perfect for anyone who wants to create a beautiful and functional holiday gift.
Tips for Making the Pattern Easier to Understand
Here are some tips to help you make the pattern easier to understand:
- Read the instructions carefully: Read the instructions carefully before starting the project.
- Use a pattern maker: Use a pattern maker, such as Adobe Illustrator or GIMP, to create a custom pattern.
- Watch tutorials: Watch tutorials on YouTube or other video sharing sites to learn new sewing skills.
- Practice before starting: Practice a small project before starting the apron project.
- Don’t be afraid to ask: Don’t be afraid to ask questions or seek help if you’re unsure about a step.
Final Tips for a Beautiful and Functional Apron
Here are some final tips to help you create a beautiful and functional apron:
- Use high-quality fabrics: Use high-quality fabrics that are easy to work with.
- Sew accurately: Sew accurately to ensure that the apron is sturdy and functional.
- Add a layer of interfacing: Add a layer of interfacing to the apron body for stability.
- Use a contrasting thread color: Use a contrasting thread color to add a decorative touch.
- Add a cute design: Add a cute design, such as snowflakes or reindeer, to add a festive touch.
With these tips and the Christmas apron pattern tutorial, you can create a beautiful and functional apron that’s perfect for the holiday season. Happy sewing!


Closure
Thus, we hope this article has provided valuable insights into Title: "Get Ready for Holiday Cheer with a Customizable Christmas Apron Pattern". We hope you find this article informative and beneficial. See you in our next article!
Leave a Reply